Lead generation attribution is a pain. Especially, if you need to attribute to marketing campaigns like Google Ads or Facebook Ads. As a marketer, you need to justify marketing costs your company (or your agency) has spent so you need to create dashboards. Looker Studio is an amazing data visualization tool, but it doesn’t have any integrations with HubSpot.
Two Minute Reports solves this problem for you. TMR connects with other data sources so you can easily reduce your time creating manual reports. Here’s a guide on how to do that.
Select HubSpot in the TMR Portal
The first thing to do is to go through our portal and select the data source you want to add.
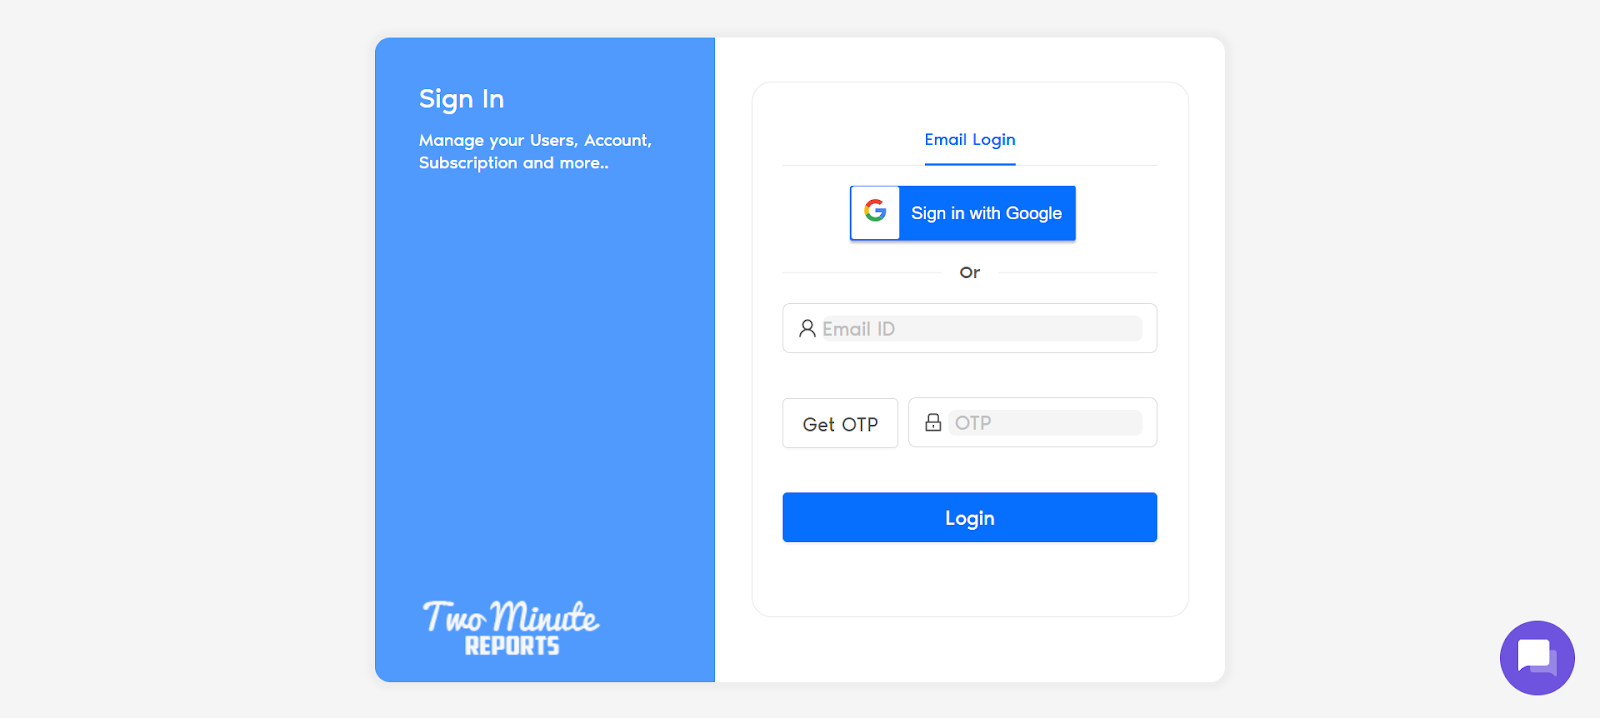
- Go to apps.gox.ai and Login to your account.
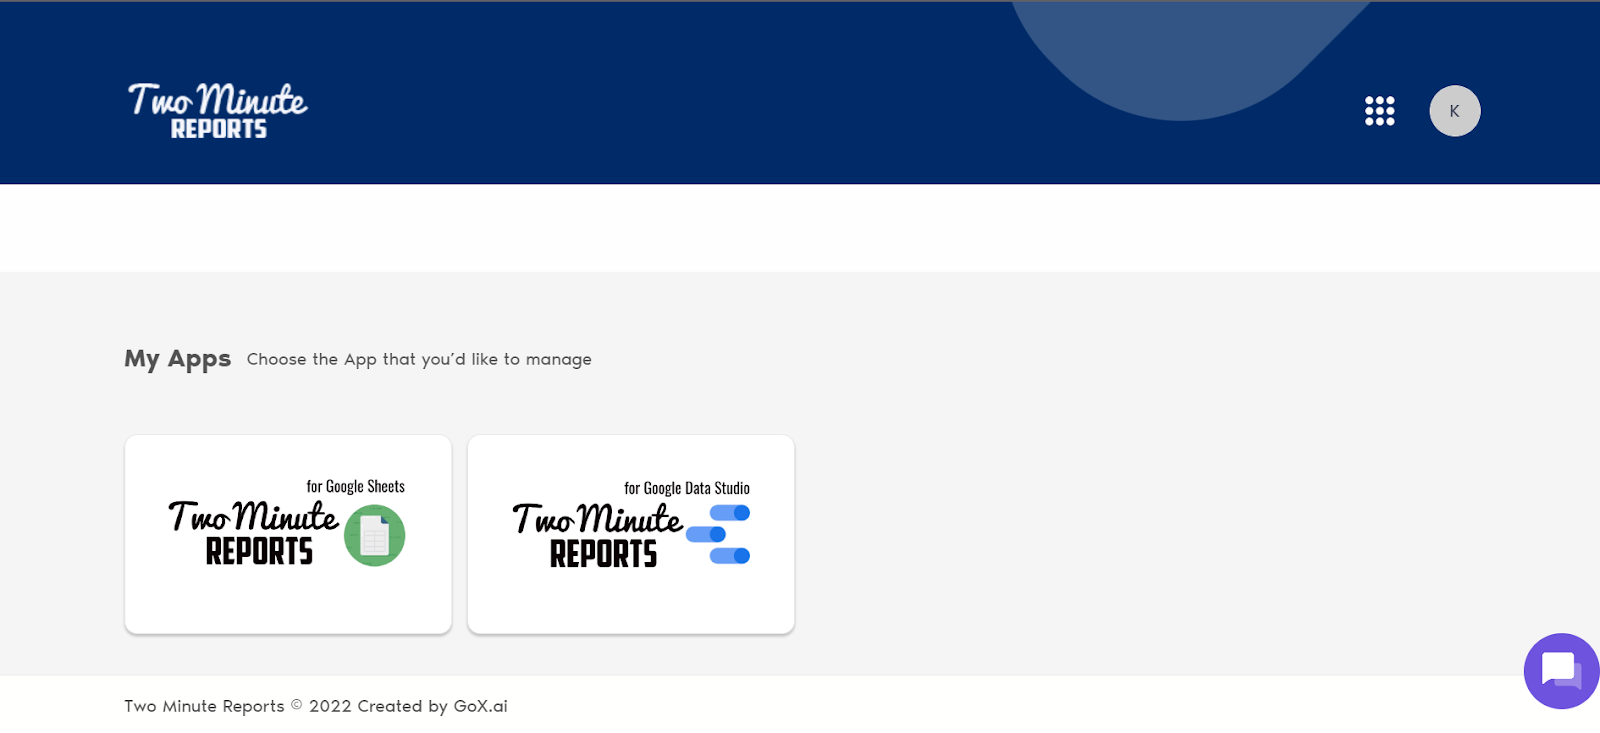
- Choose Two Minute Reports for Looker Studio (the blue one).
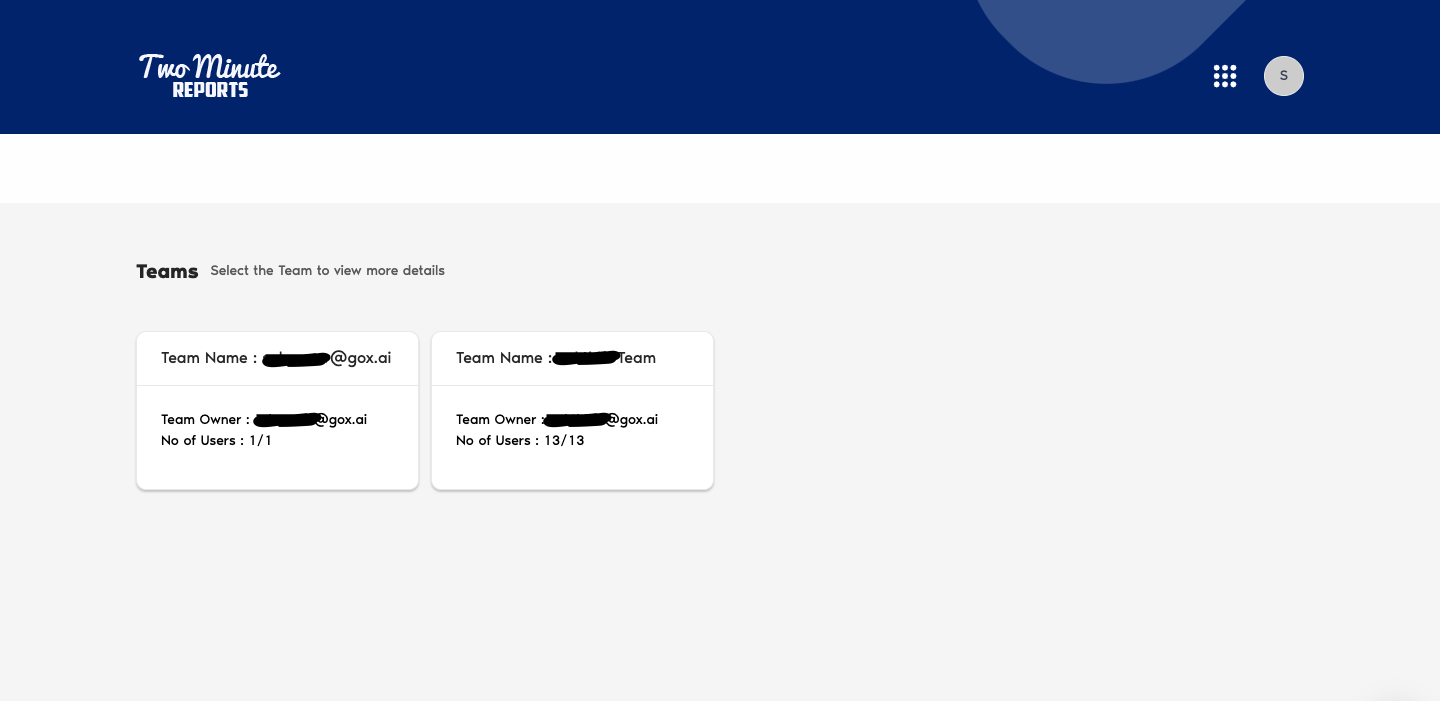
- Select your team. If you only have one team, you skip this and TMR automatically redirects you to the connectors page.
You will now see the connectors page.
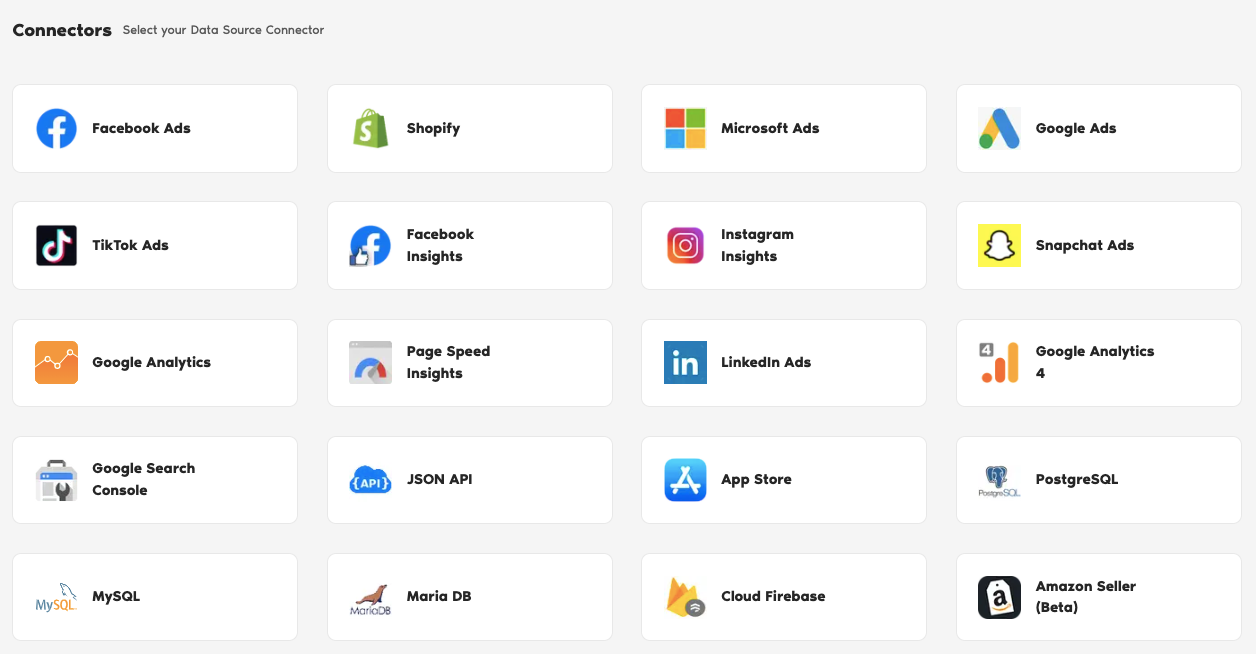
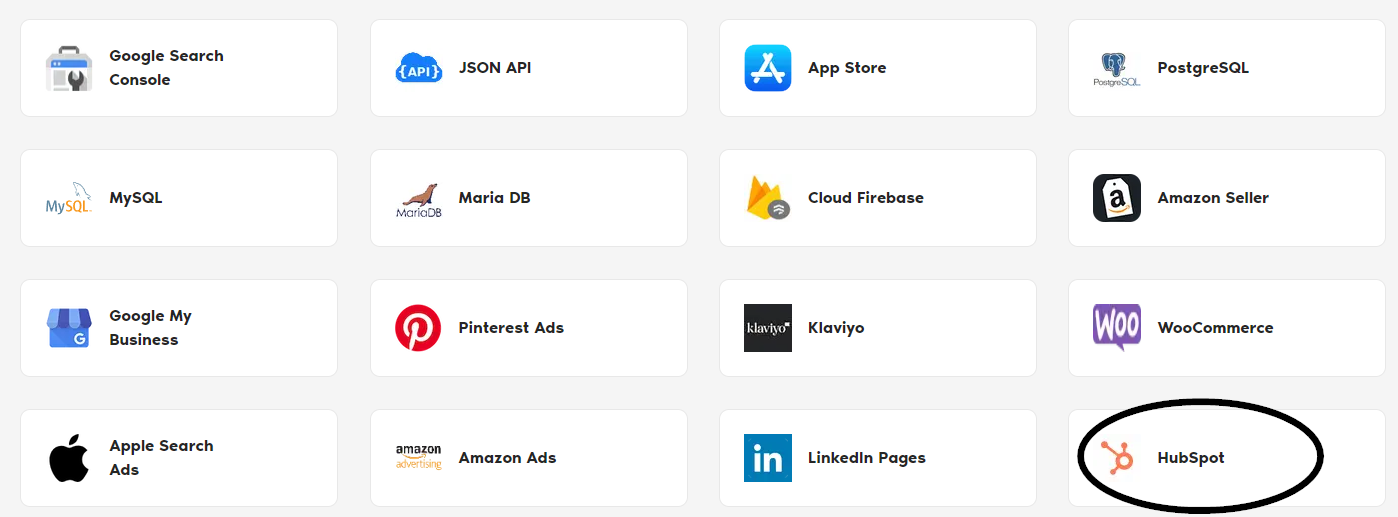
- In the connectors page, find and select HubSpot.
Create a Private App in HubSpot for Access Token
It’s required for HubSpot to enter an access token to connect to Two Minute Reports. In HubSpot’s case you need to create a ‘private app’ to acquire an access token. The access token provided by HubSpot is entered in Two Minute Reports interface.
What is an access token?
- Login to your HubSpot account at https://app.hubspot.com.
- If you have access to multiple accounts you will be prompted to select the account. Select the one you want to connect with Two Minute Reports.
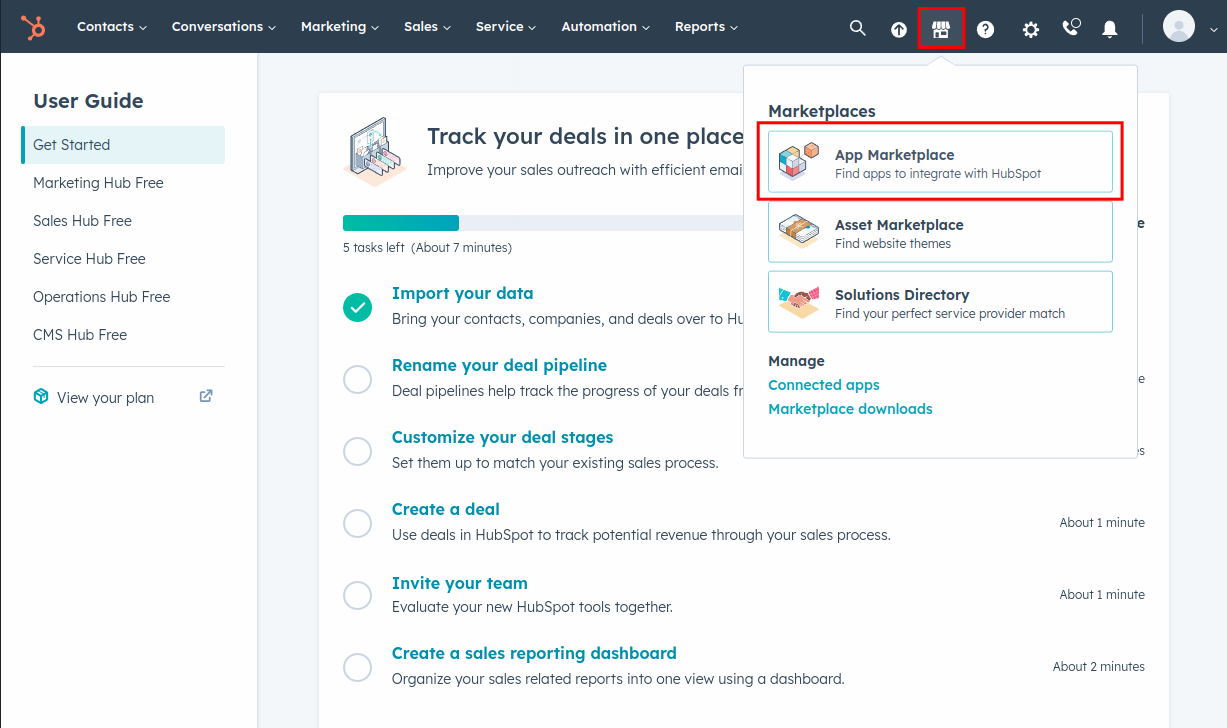
- Click on the Marketplace icon in the header and choose App Marketplace.
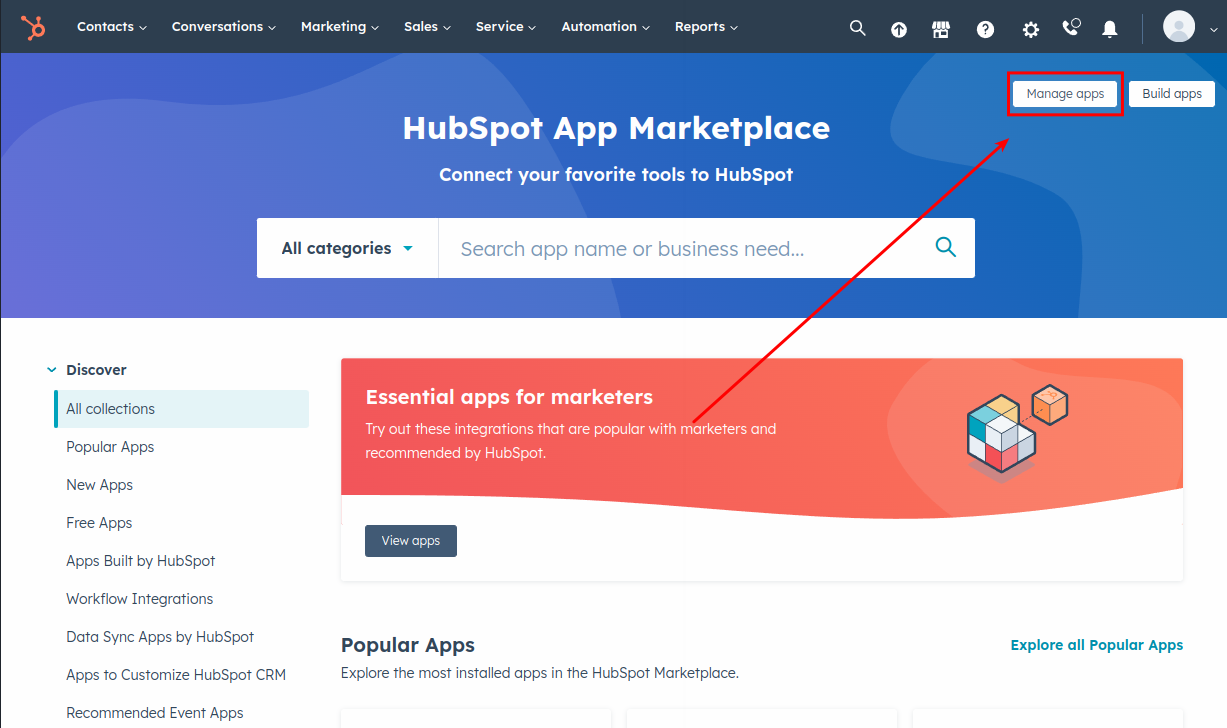
- Click on the Manage apps button located in the top right corner.
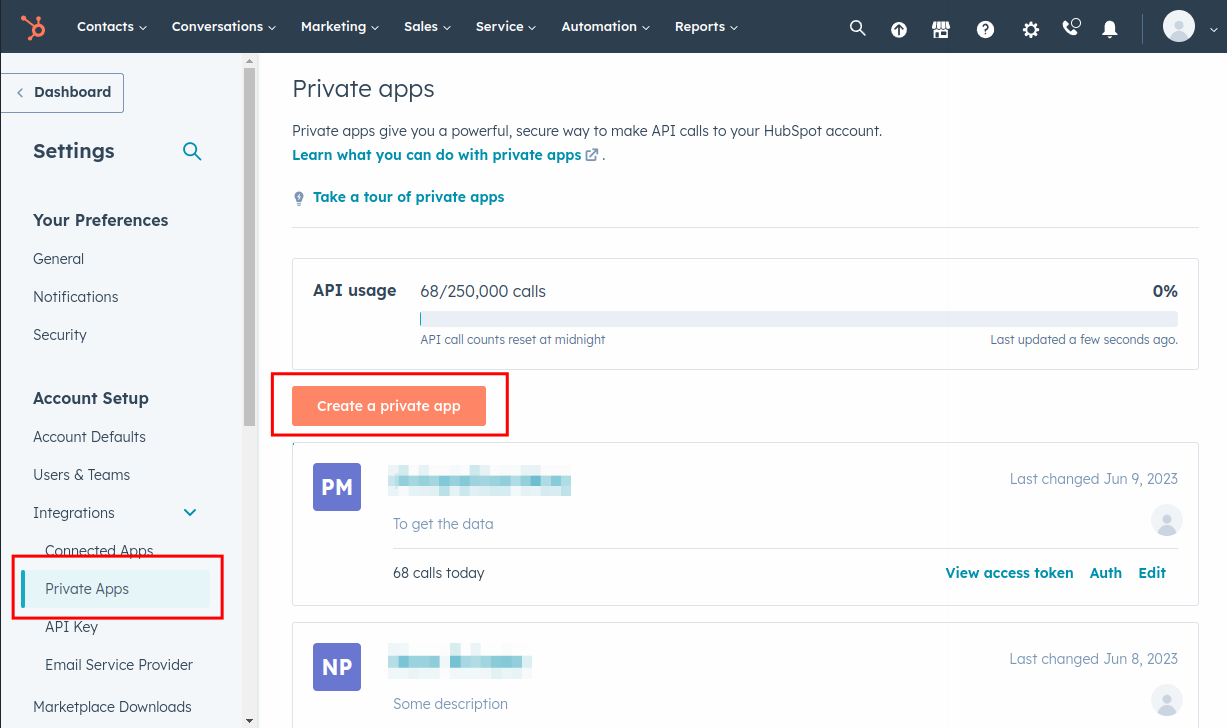
- On the left menu, select Private Apps under Integrations and click on the Create a private app button.
- Then give a name for your app.
- In the Scopes section, select the scopes below for your app. These scopes are required for Two Minute Reports to pull the required data from HubSpot.
Scopes
Standard
- actions
- automation
- business-intelligence
- communication_preferences.read
- content
- conversations.read
- e-commerce
- forms
- media_bridge.read
- sales-email.read
- tickets
- timeline
CRM
- crm.lists.read
- crm.objects.commercepayments.read
- crm.objects.companies.read
- crm.objects.contacts.read
- crm.objects.custom.read
- crm.objects.deals.read
- crm.objects.feedback_submissions.read
- crm.objects.goals.read
- crm.objects.invoices.read
- crm.objects.line_items.read
- crm.objects.marketing_events.read
- crm.objects.owners.read
- crm.objects.quotes.read
- crm.objects.subscriptions.read
- crm.objects.users.read
- crm.schemas.commercepayments.read
- crm.schemas.companies.read
- crm.schemas.contacts.read
- crm.schemas.custom.read
- crm.schemas.deals.read
- crm.schemas.invoices.read
- crm.schemas.line_items.read
- crm.schemas.quotes.read
- crm.schemas.subscriptions.read
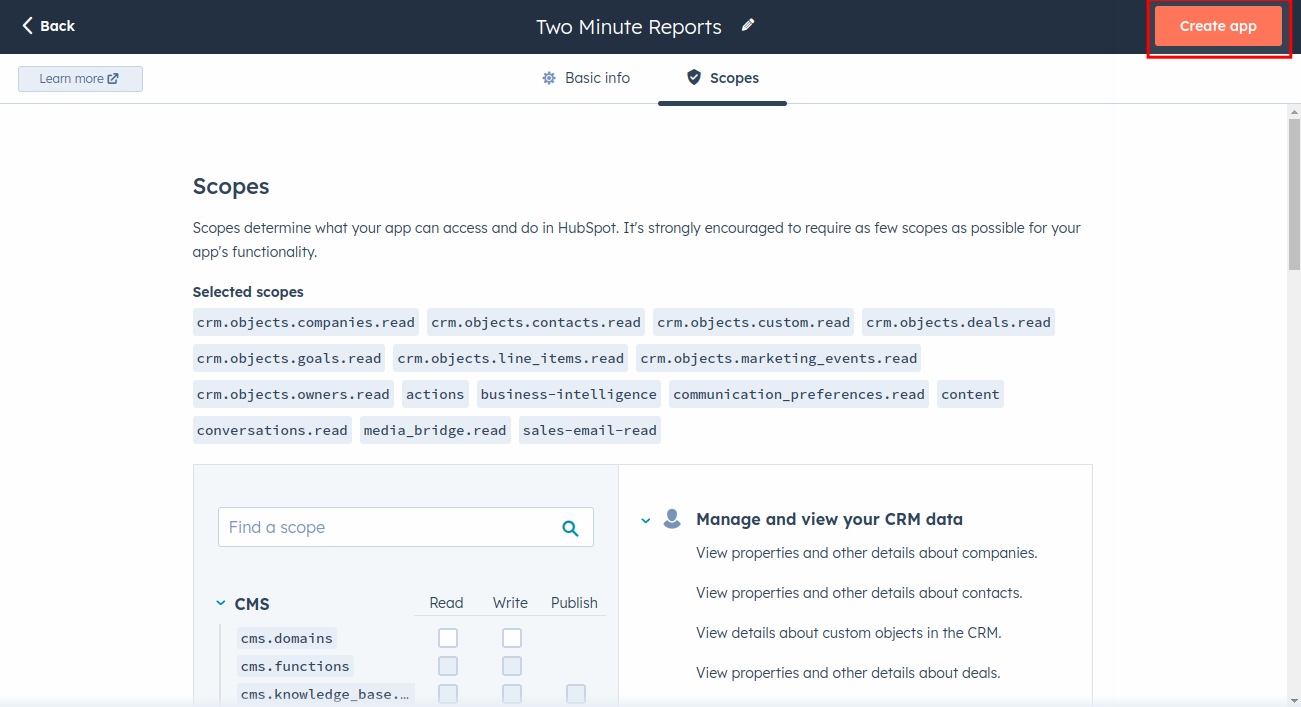
- After selecting the scopes, click the Create app button at the top right corner.
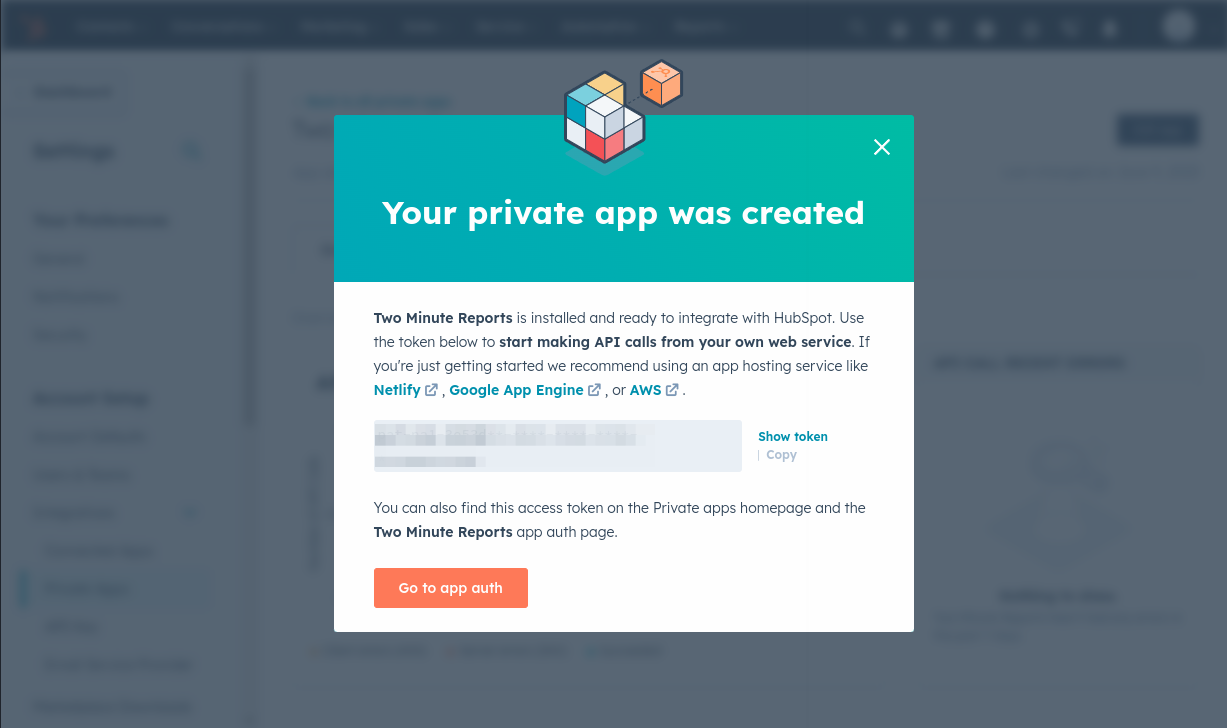
- Your private app in HubSpot is now created and the access token is given. Make sure to copy the access token and store it safely since you need it to connect with Two Minute Reports.
Authorize Your HubSpot Account
The next series of steps is to configure your HubSpot account with TMR.
Connect to Your HubSpot Account
In this section, you need to login to your HubSpot account for authentication making sure it connects with TMR and Looker Studio.
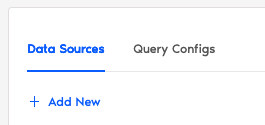
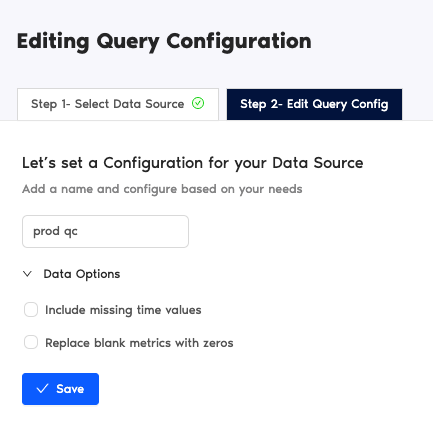
- Under Data Sources, click +Add New button.
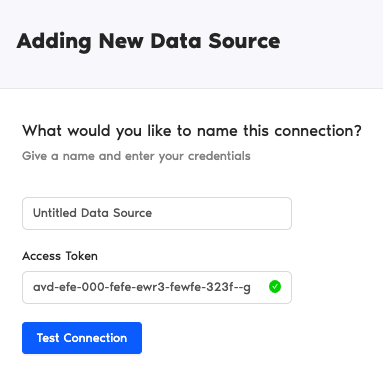
- Enter the Access Token you acquired from the previous section.
- Name your data source and click the blue Test Connection button.
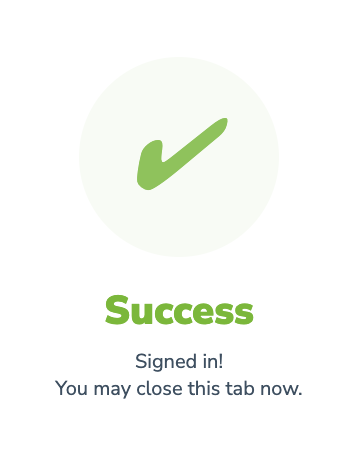
- If successful, Two Minute Reports gives a prompt “Signed in! You may close this tab now.“
Configuring Your HubSpot Account with TMR
- In the Query Configs section, click + Add New button. Choose the data source you added earlier. Click Next.
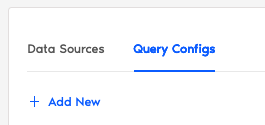
The next following steps is where you configure your HubSpot settings to TMR so that you can create reports in Looker Studio. You may configure the following parameters depending on your preference as TMR has imported them.
- Name your query config.
- Select your HubSpot account.
- Data Options whether you want to Include missing time values or Replace blank metrics with zeros. This means metrics are still being reported as zero values.
- Click Save.
Once everything is finished, click Create Report. The next section is creating reports in Looker Studio.

Create a HubSpot Report with TMR in Looker Studio
There are two options to create a HubSpot Ads report with TMR in Looker Studio. You can choose to select our templates or create your own custom reports.
Option 1: Use Two Minute Reports Template
Option 2: Create Report from Scratch
Option 1: Use Two Minute Reports Template
If you prefer to use a template, Two Minute Reports has many template dashboards to choose from.
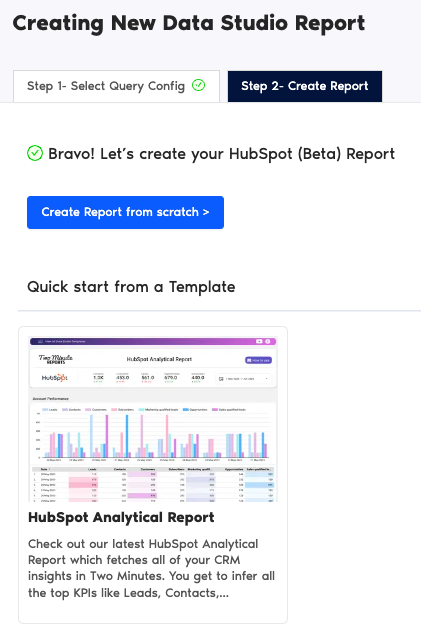
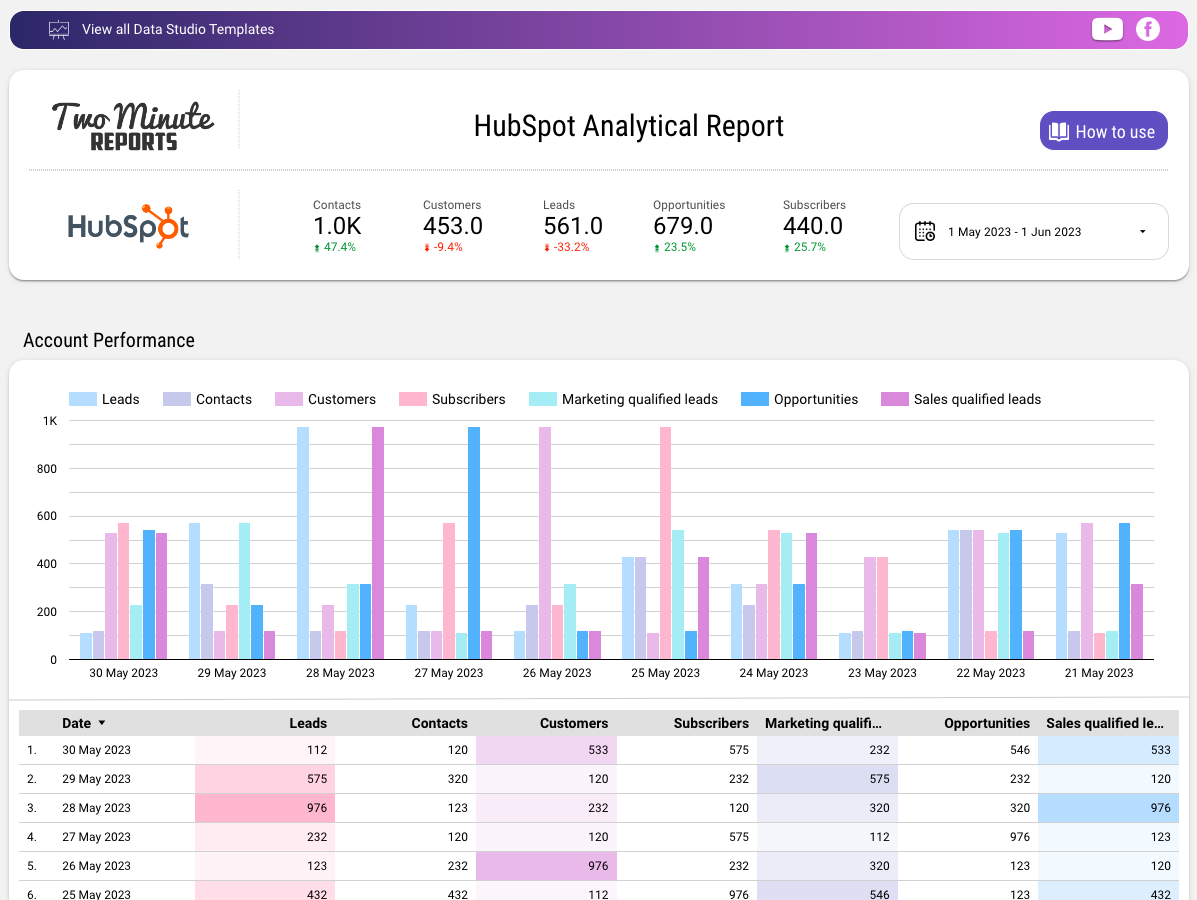
- After clicking Create Report from the previous section, select any of our templates. In this example, click HubSpot Analytical Report.
- You are redirected to Looker Studio. In Looker Studio, under Select Query Config, choose the one you created (it should be the name you gave it earlier). Select your team as well if the teams dropdown is showed to you.
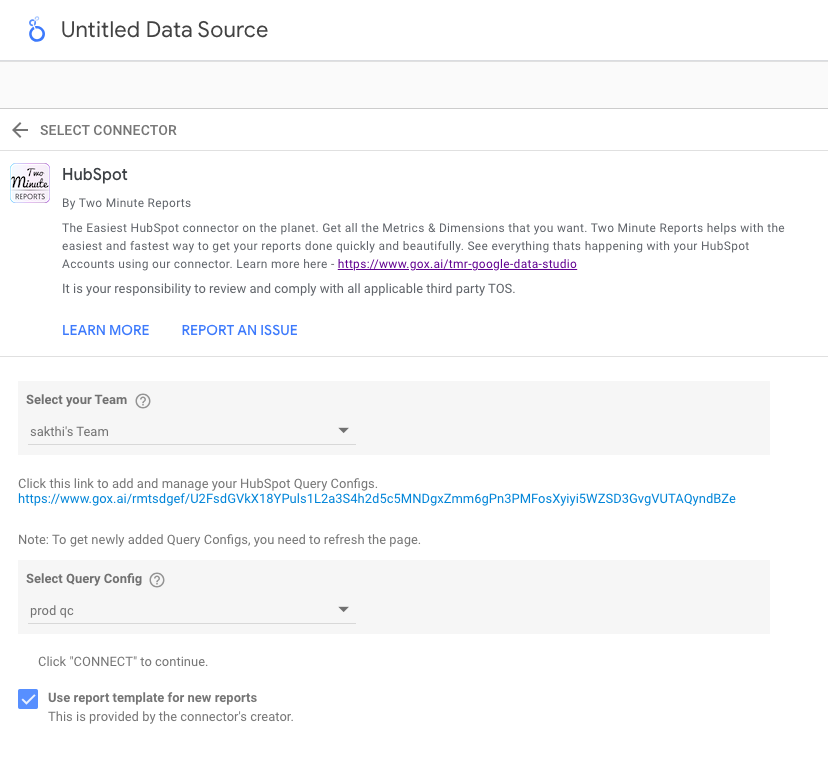
- Click Connect blue button in the upper right side of the page.
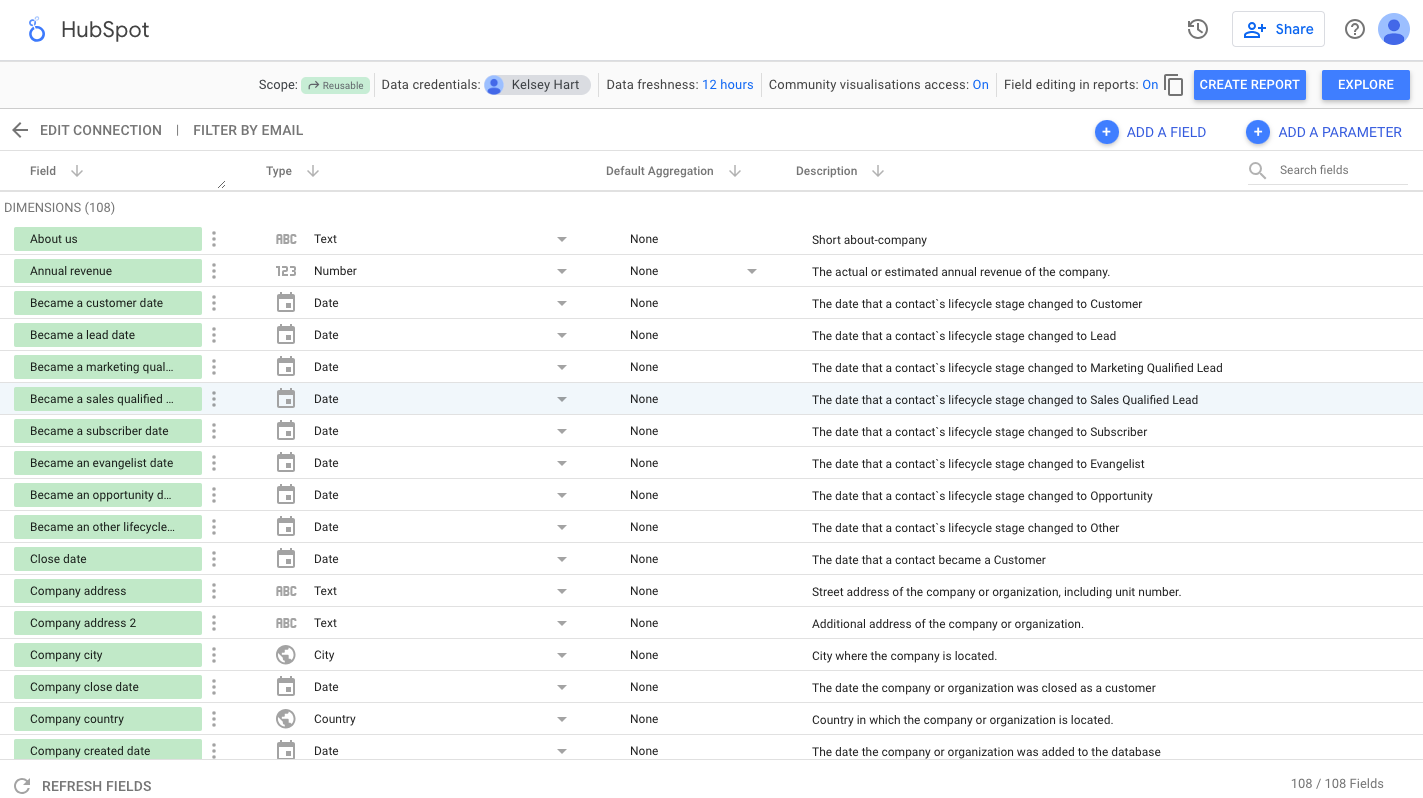
- You can now view the HubSpot schema on Looker Studio. Click Create Report in the right side of the page.
Once everything is loaded, you are presented with a custom template report from Two Minute Reports. You can use your HubSpot data to this report and edit as you see fit.
If you want to learn on how to use your own data to our templates, read How to use templates for Looker Studio
Option 2: Create Report from Scratch
You can also create your own custom dashboard in Looker Studio. Looker Studio is a powerful data visualization tool that contains many features to help you reduce time creating reports.
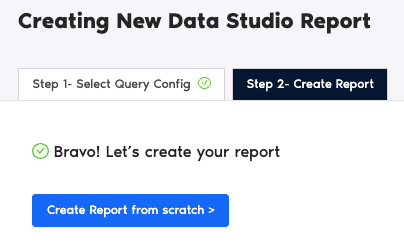
- After clicking Create Report from the previous section, click Create Report from scratch blue button.
- You are redirected to Looker Studio. In Looker Studio, under Select Query Config, choose the one you created (it should be the name you gave it earlier). Select your team as well if the teams dropdown is showed to you.
- Click Connect blue button in the upper right side of the page.
- You can now view the HubSpot schema on Looker Studio. Click Create Report in the right side of the page.
Once everything is loaded, you are presented with a blank canvas. You can now create custom reports (adding dates and charts) in Looker Studio with your HubSpot data.
If you want to learn about creating your own report, like adding dates and charts, read How to Create a Report in Looker Studio