Adding a data source is essential to creating a report in Google Sheet, as it allows you to connect to a specific data set and access the required information for your report.
This article explains the steps to add a Klaviyo data source in Google Sheet, which involves generating an API key from Klaviyo Dashboard and using it to configure the data source in Two Minute Reports (TMR) configuration. By adding this data source, you can create a new query config using the newly created data source and create a Klaviyo report from scratch.
Step 1: Install and Launch Two Minute Reports
Install Two Minute Reports, if you have not done already.
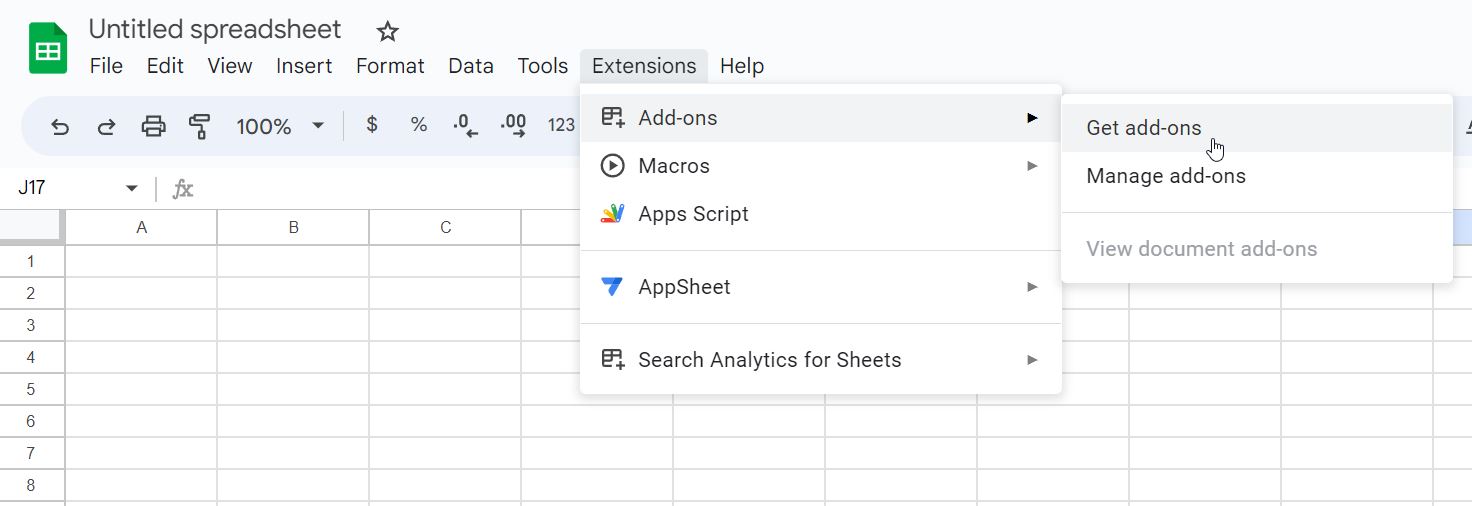
Sign in to any Google Sheet and go to Add-ons -> Get add-ons.
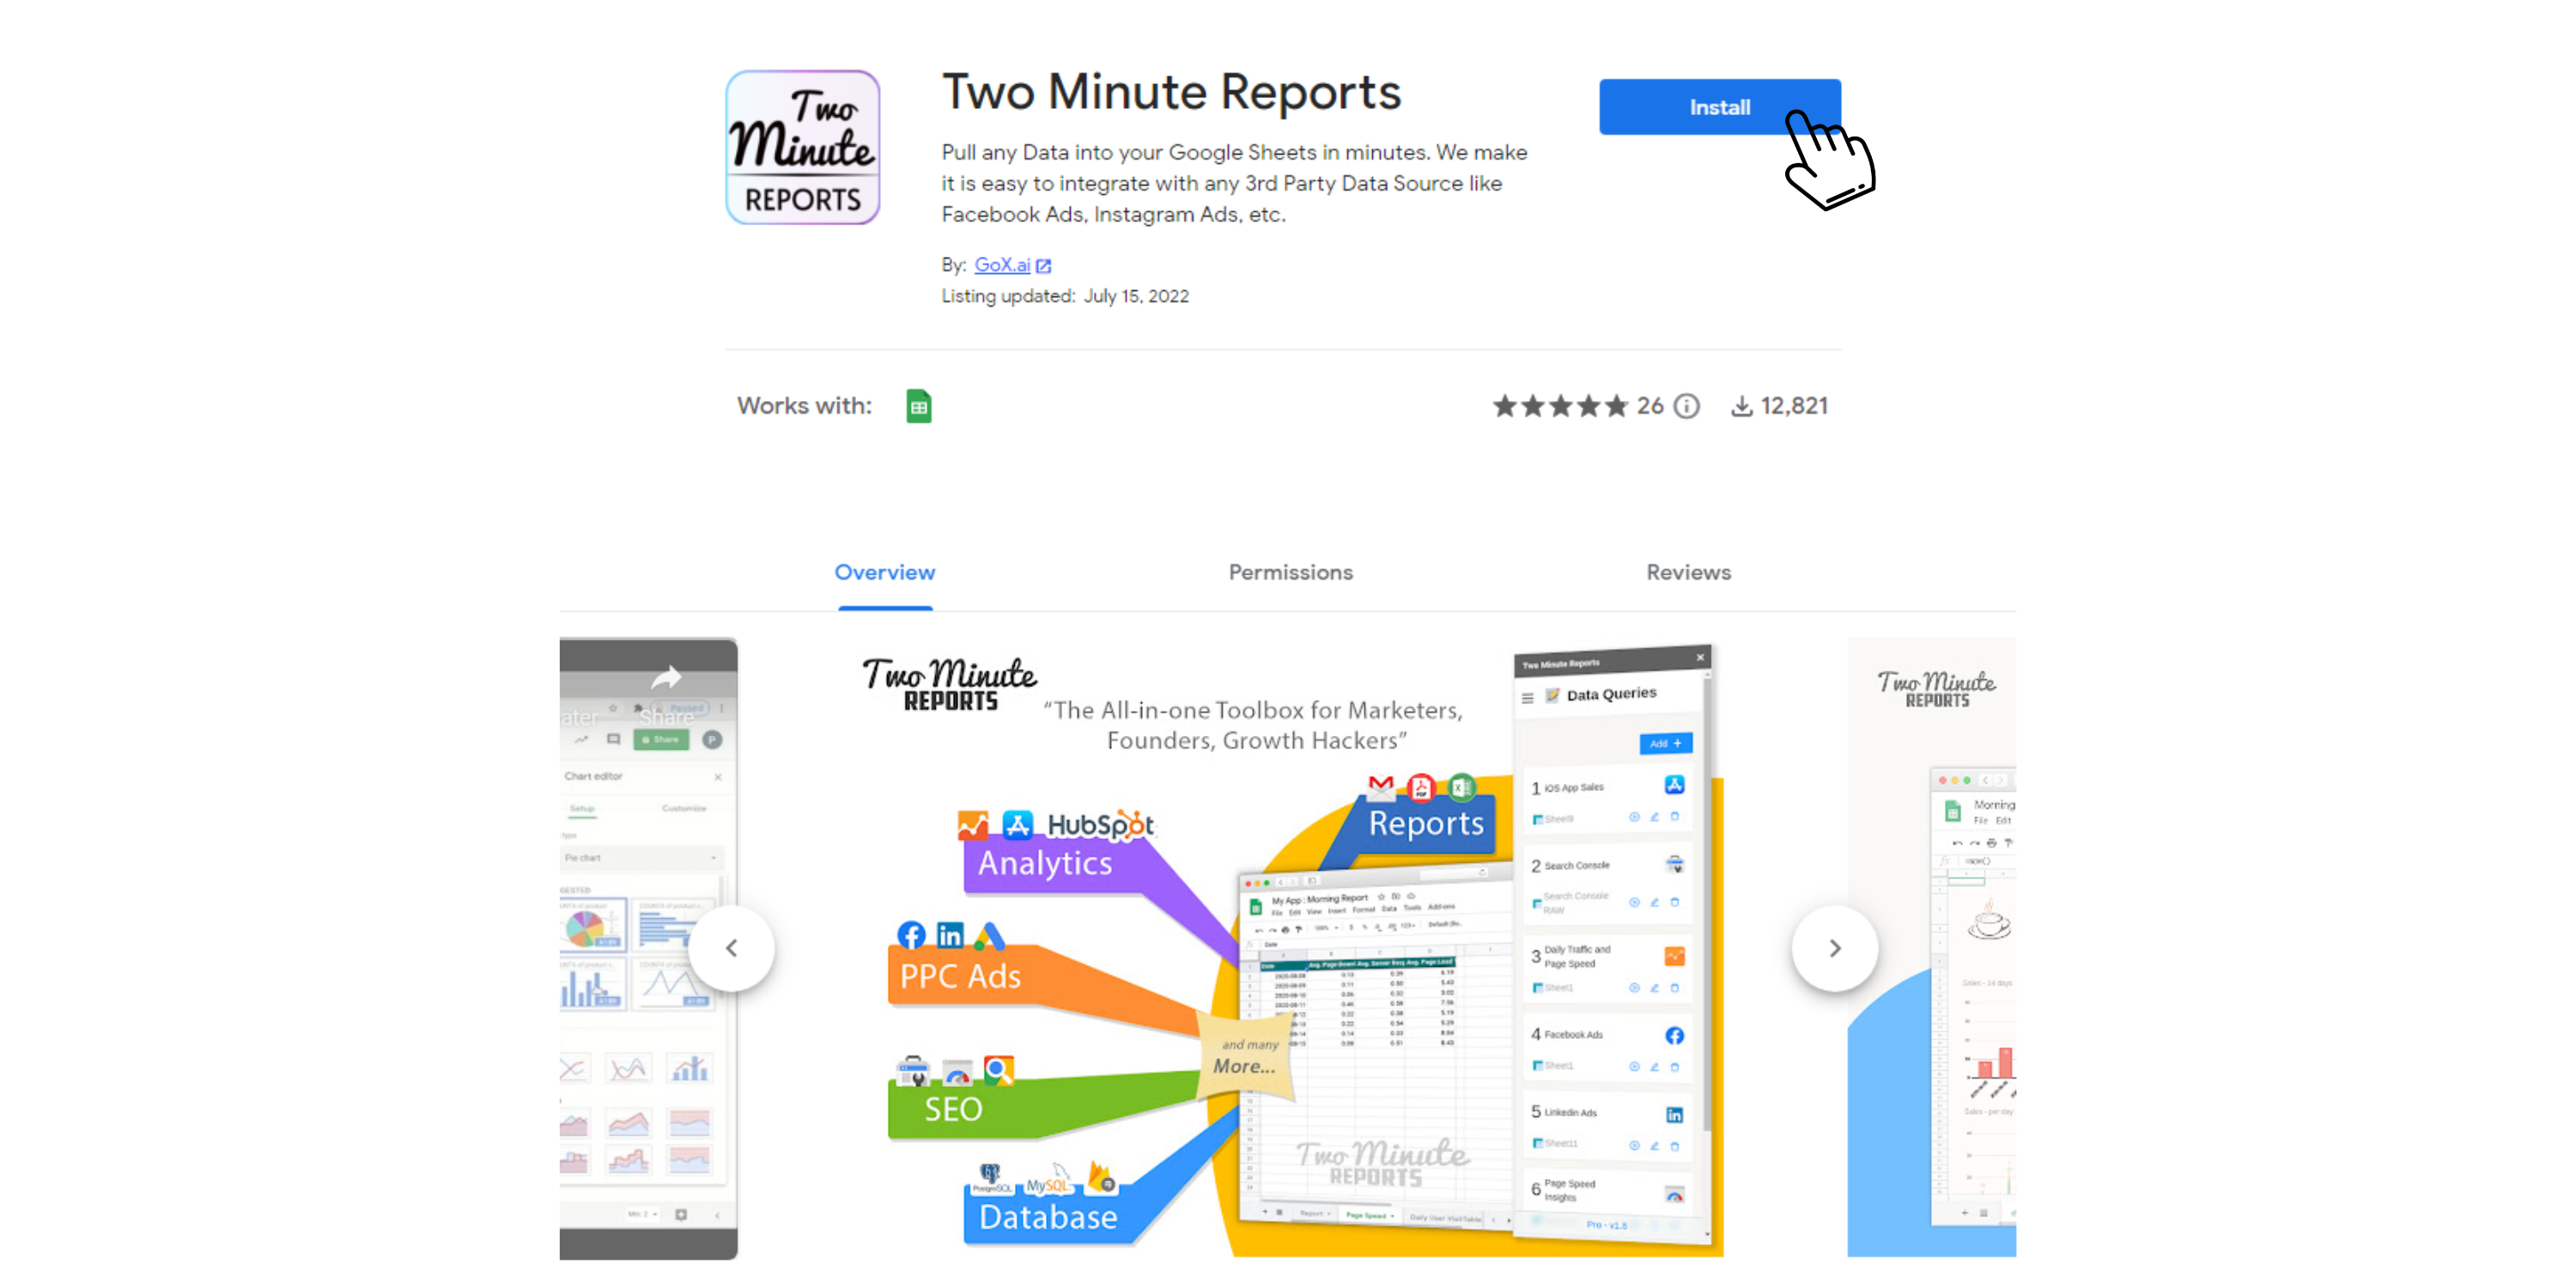
Search for Two Minute Reports and select Install.
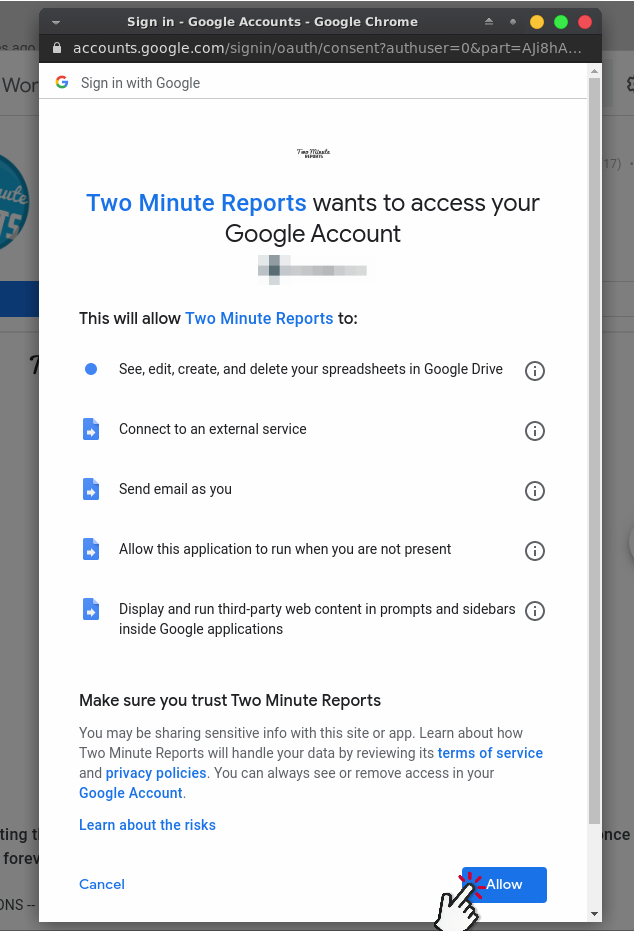
Review and accept the permissions necessary to run Two Minute Reports. Two Minute Reports will be installed for you with the e-mail you are sign in to Google Sheets.
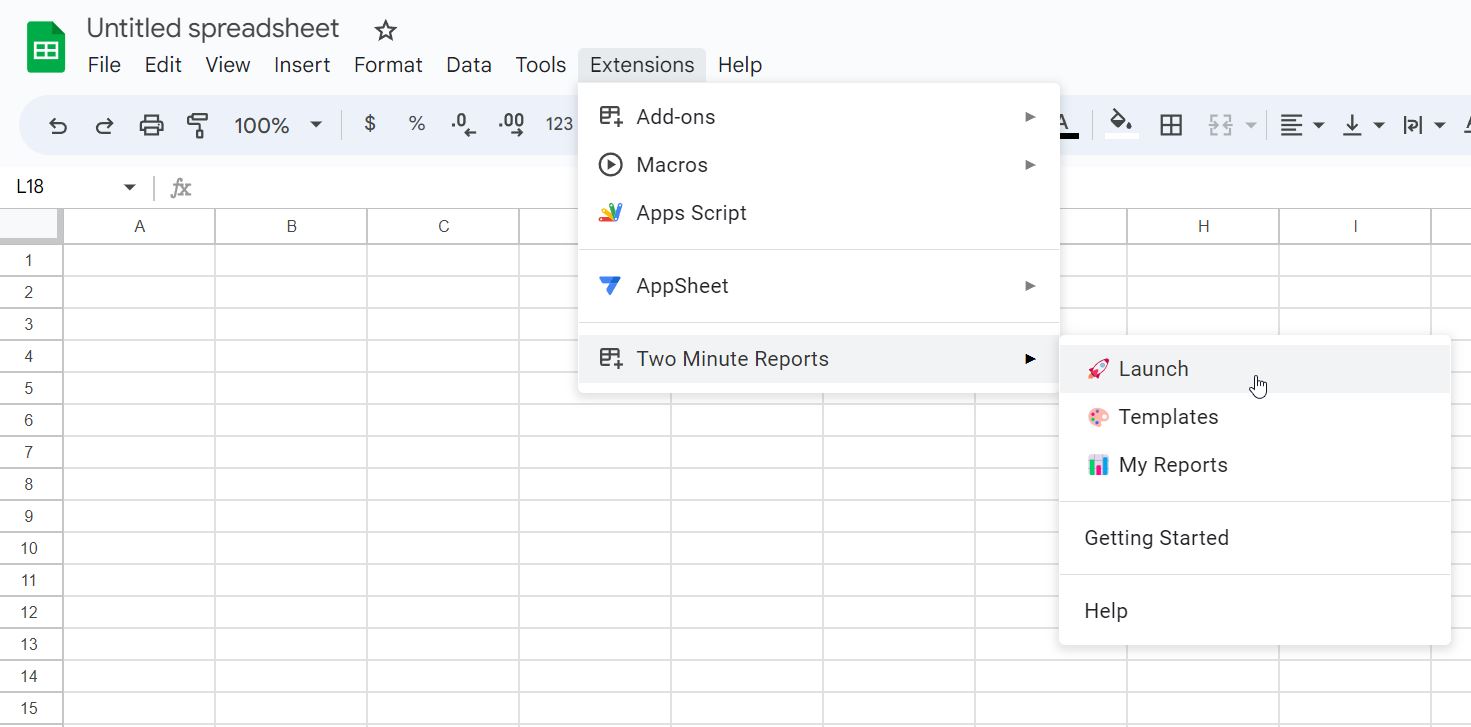
Open Google Sheets and go to Extensions -> Two Minute Reports -> Launch.
Step 2: Create a Data Source in Two Minute Reports
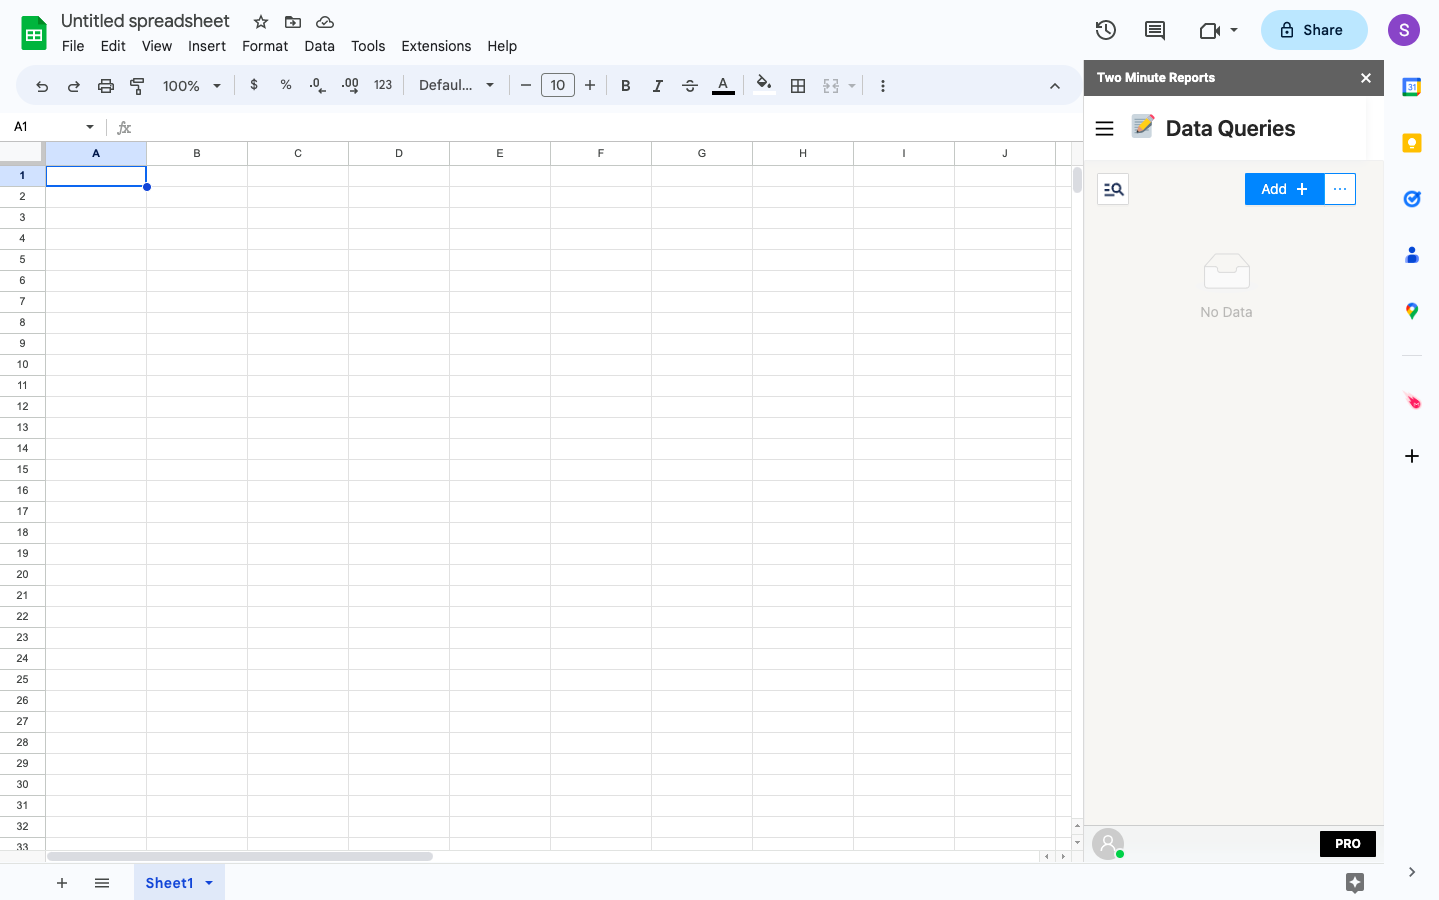
Once you launch, You get the Two Minute Reports (TMR) sidebar opened at the right side of the Google Sheet. By default you will have the Data Queries bar open.
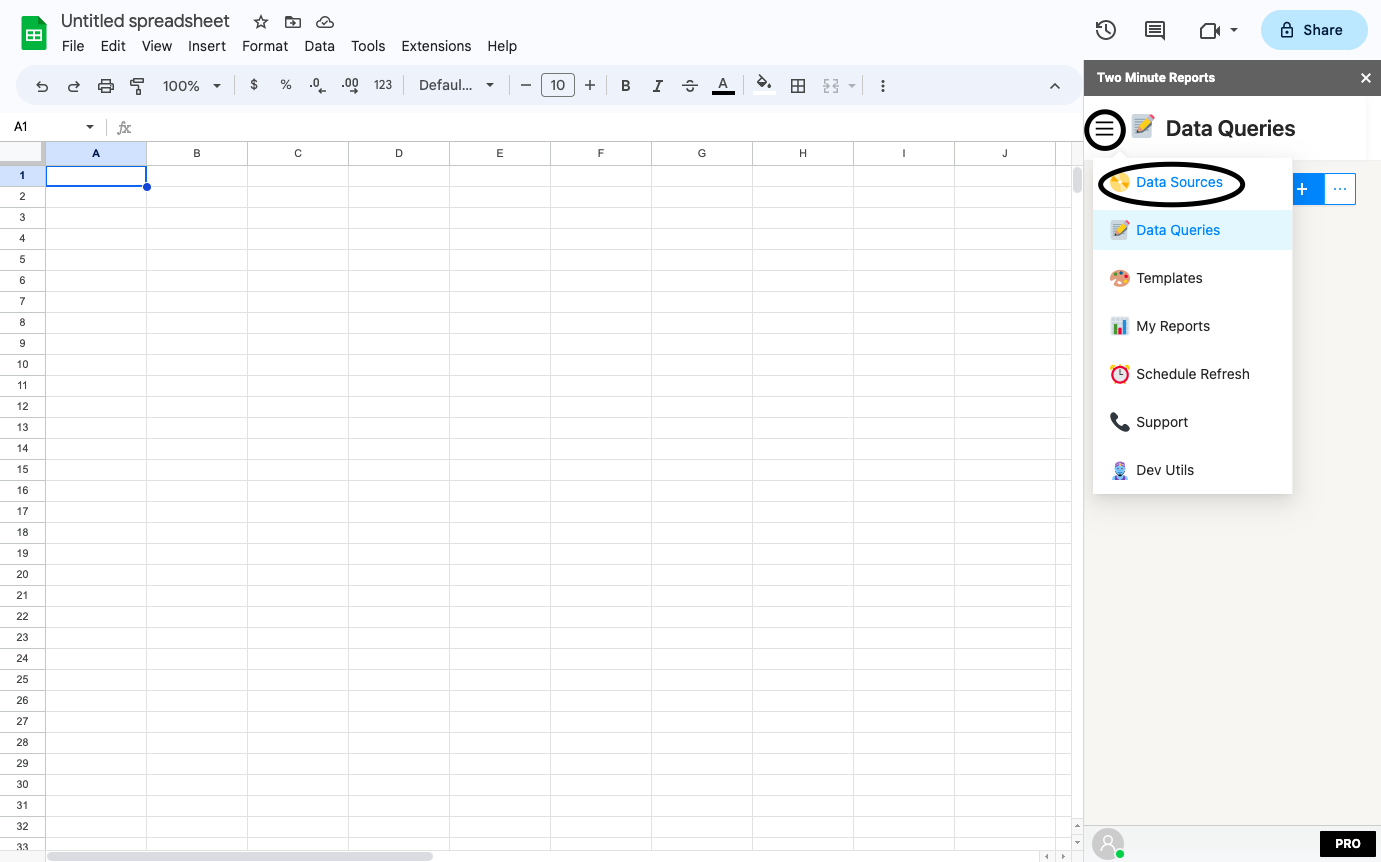
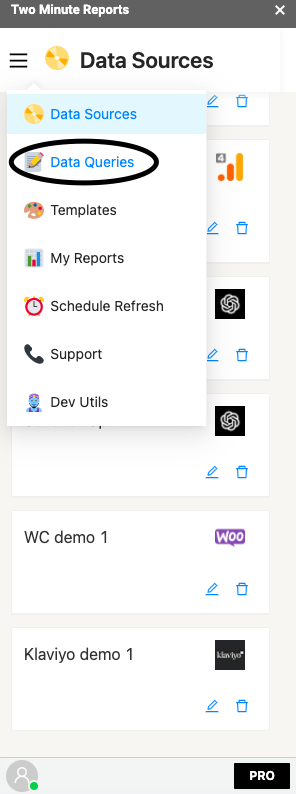
Click on the Menu icon located at the top left corner of the TMR sidebar, then select the “Data Sources” option.
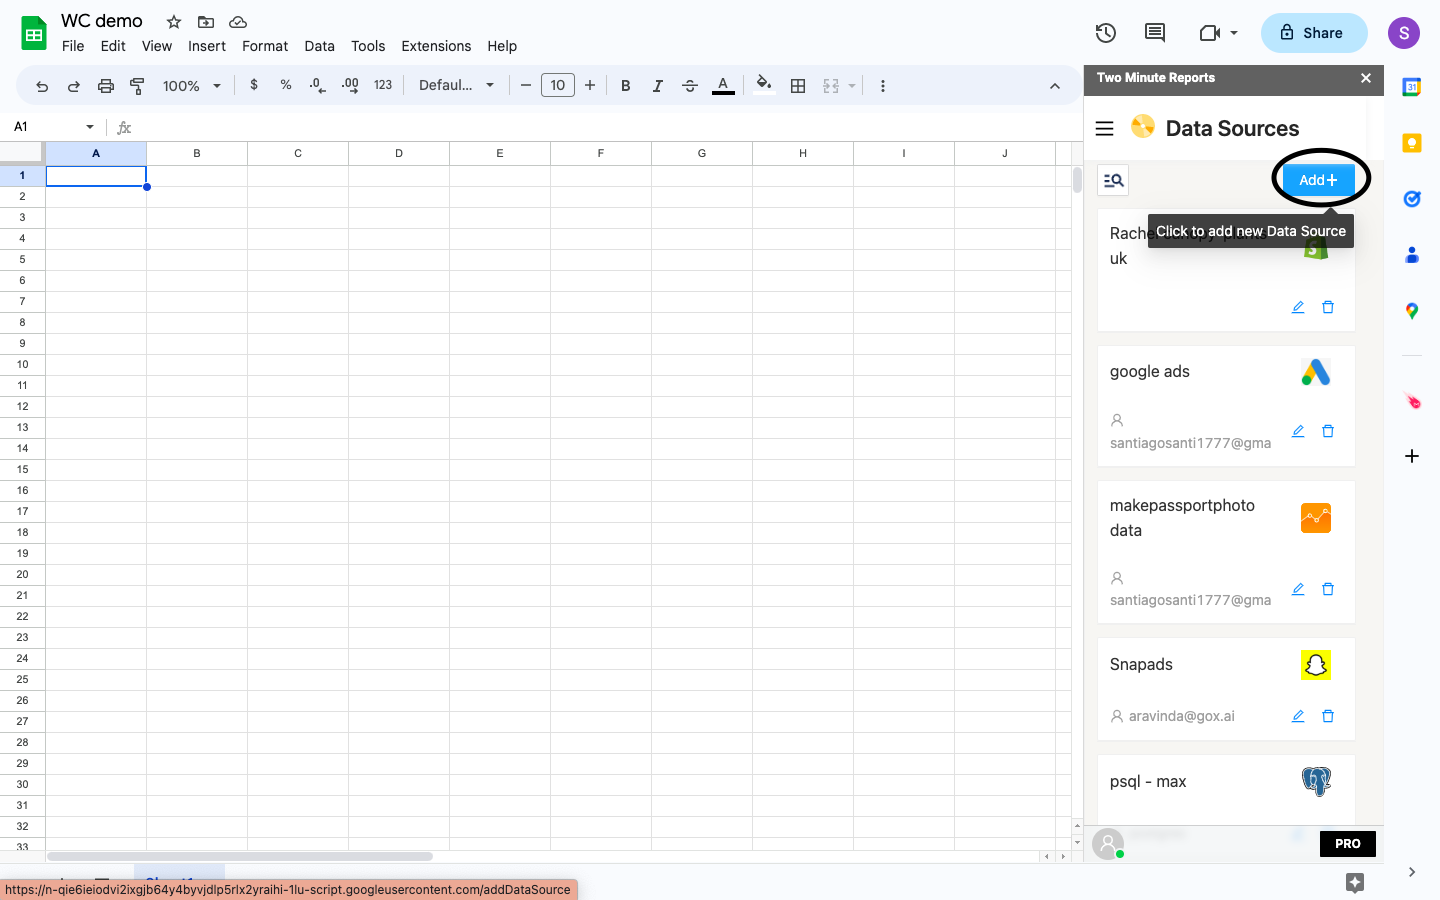
Now, You will be redirected to the Data Sources section in the sidebar. Click on Add+ to create your new Klaviyo Data Source
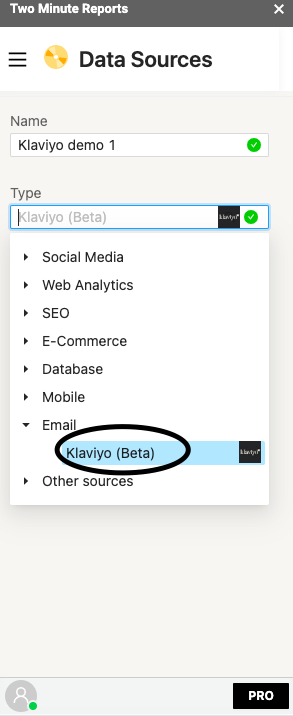
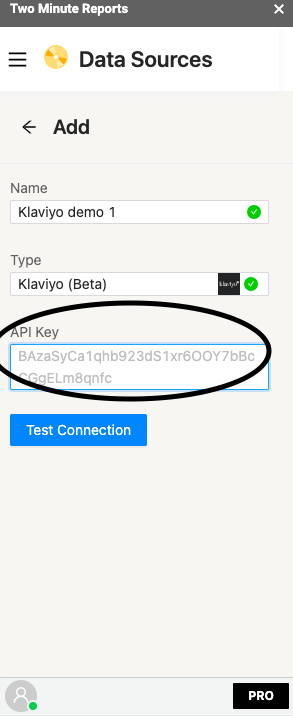
In the TMR sidebar, click on the “Select your source type” option to view all available data sources. From there, select Klaviyo from the Data source dropdown and give your Data Source a name.
Once you select the Data Source, you would need to enter the API Key in the Two Minute Reports sidebar.
Step 3: Generate an API Key from your Klaviyo Dashboard
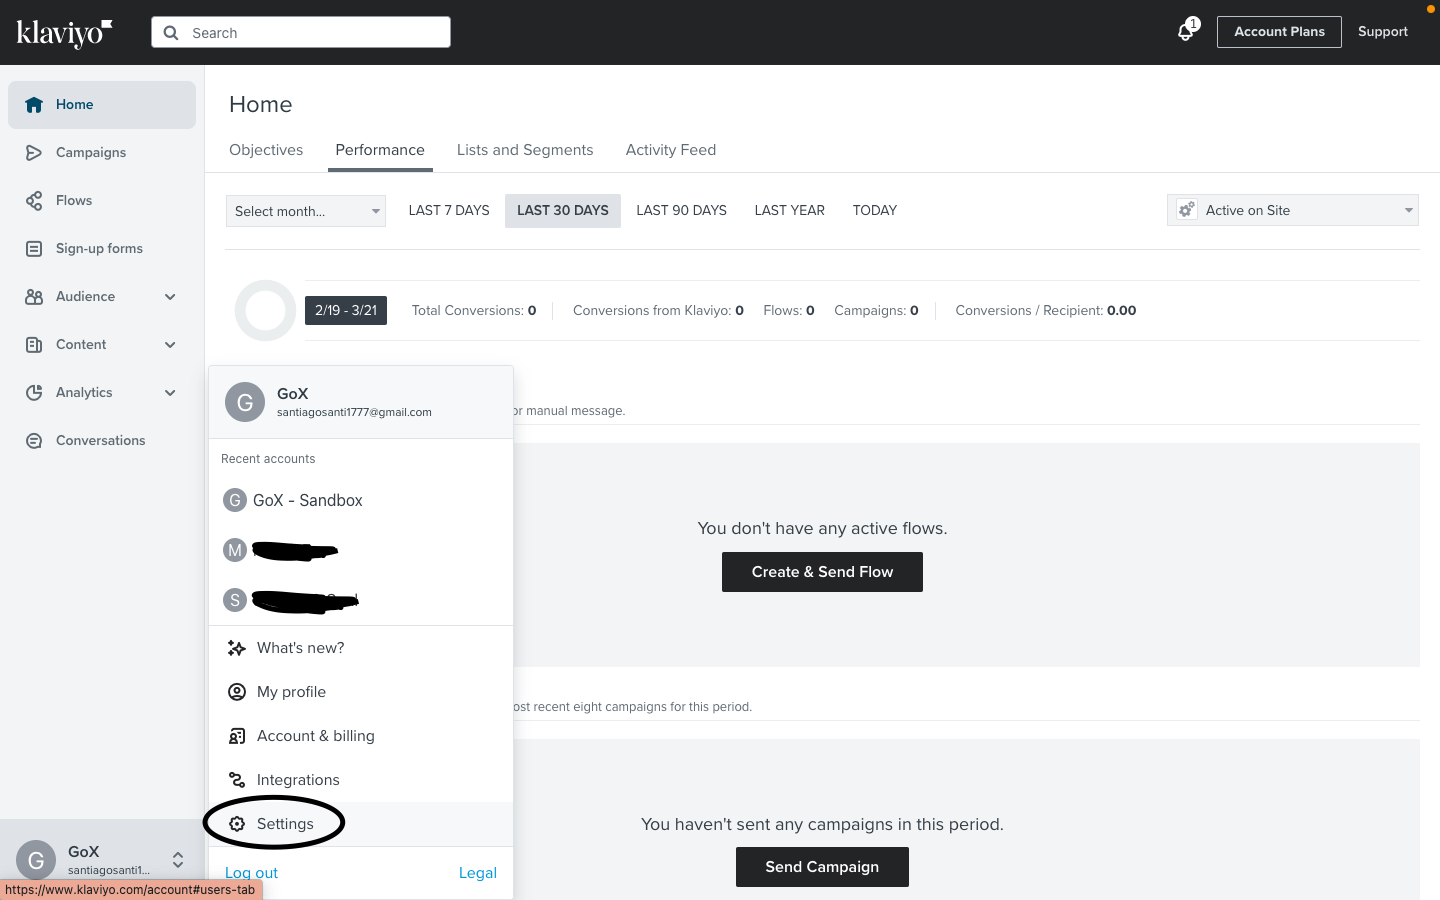
Go to your Klaviyo Dashboard and select the Profile option below. Once you click that, select the Settings option.
Now, choose the API Keys option placed on the top bar of the dashboard.
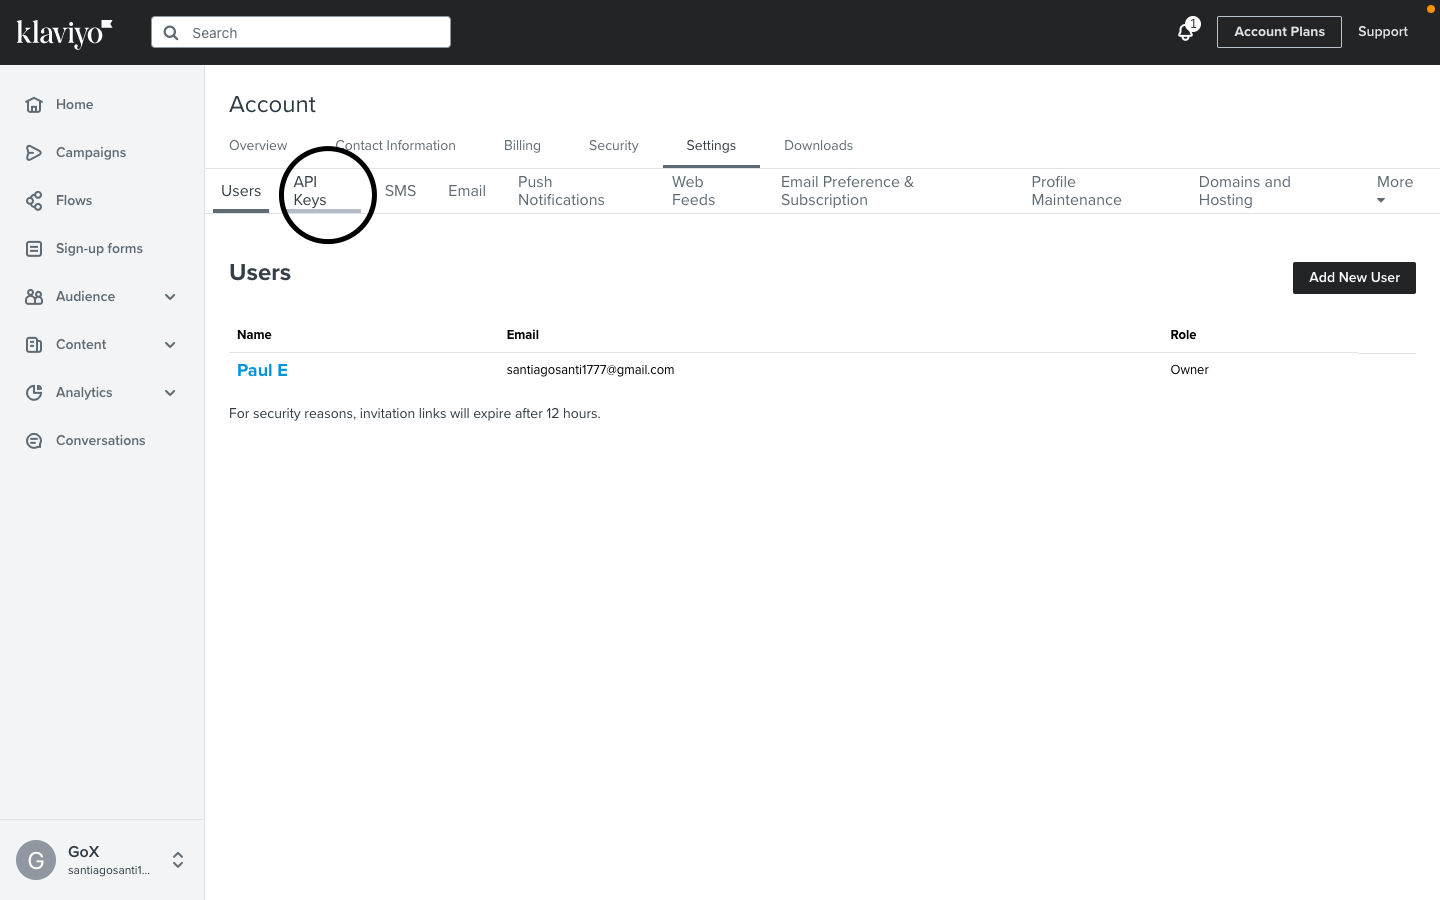
You will be able to view the previously created API keys, and you will have an option to Create a Private API Key. Select the corresponding option.

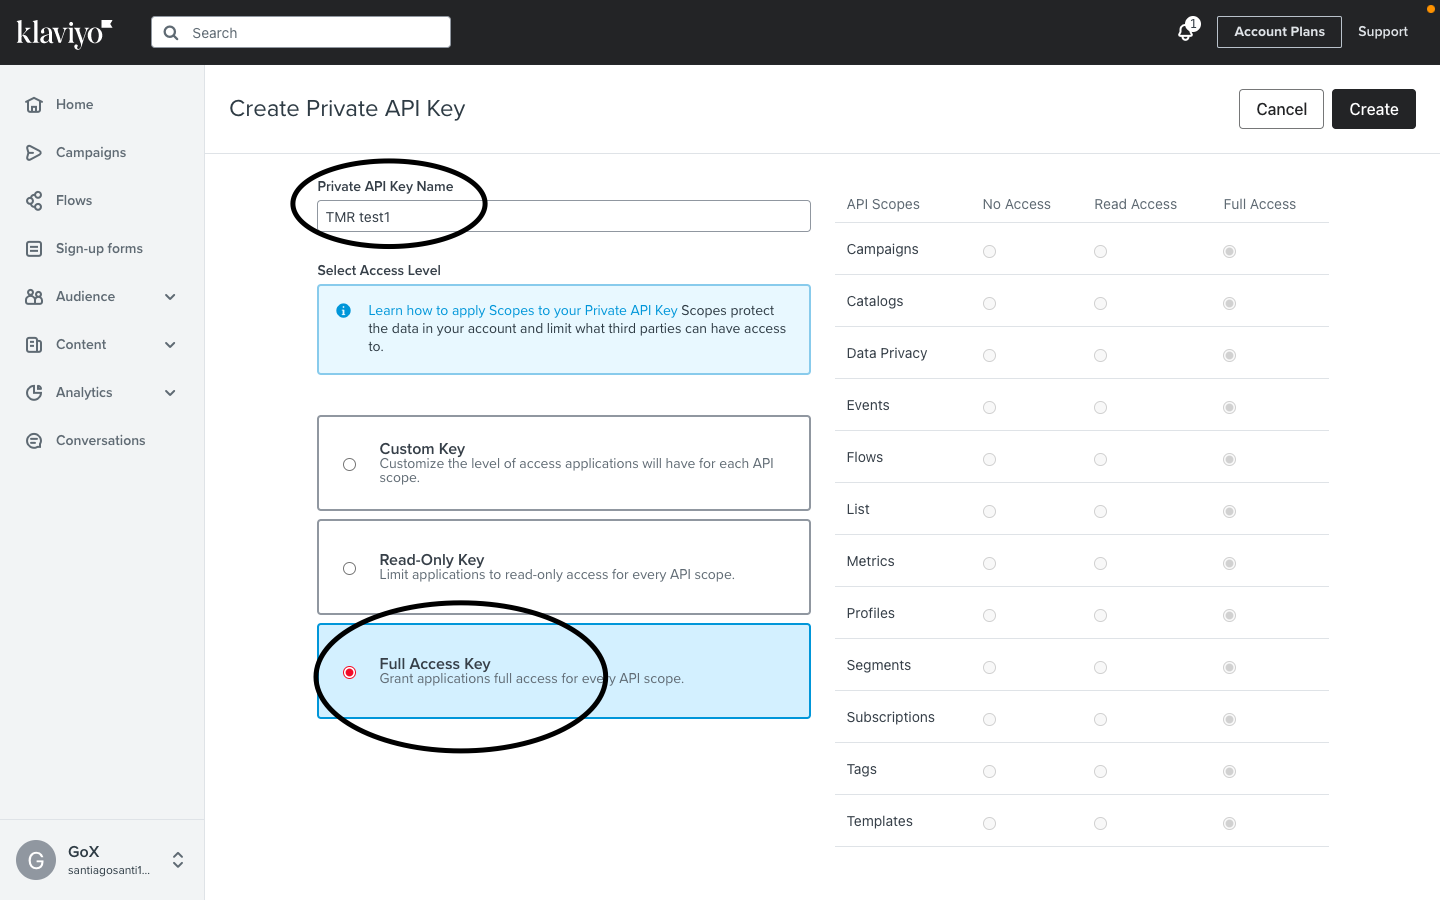
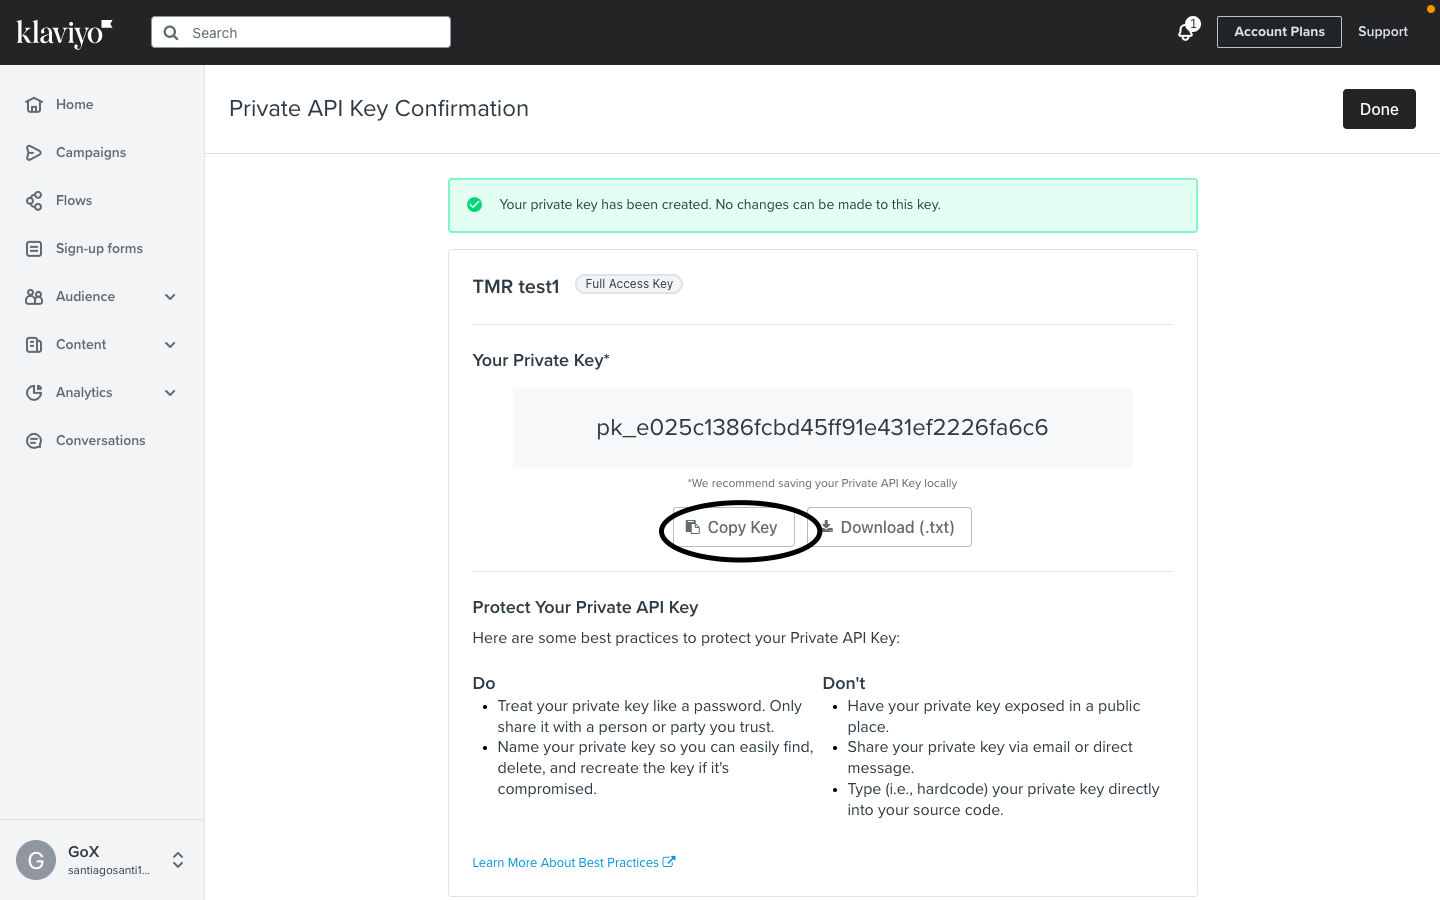
Now, create a name for your new API Key and select the Access Level. For Two Minute Reports, you need to specify the Access level to Full Access Key and click on Create, placed at the top right corner.
After creating the API Key, click on the “Copy Key” button next to the API Key you just created. You can then paste the key into your Two Minute Reports configuration.
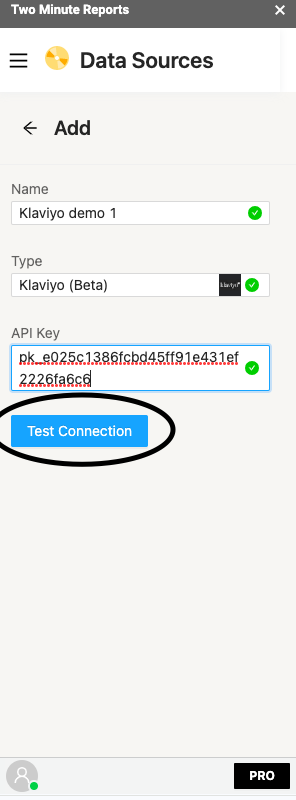
Now, return to our TMR’s Data source configuration page and Paste the API key in the requested API Key placeholder section of TMR sidebar.
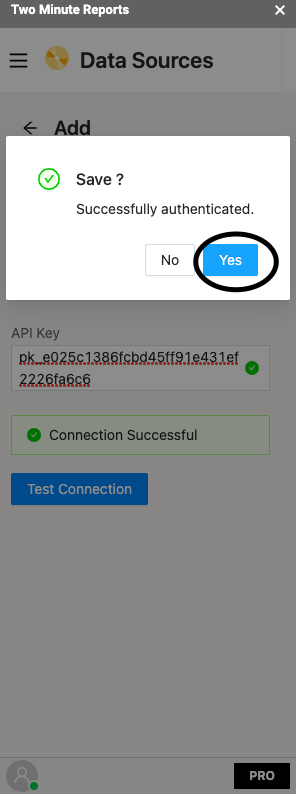
If your connection is successful, you will receive a “Successfully authenticated” message. Click on the “Yes” button to save the Data Source configuration in the TMR sidebar.
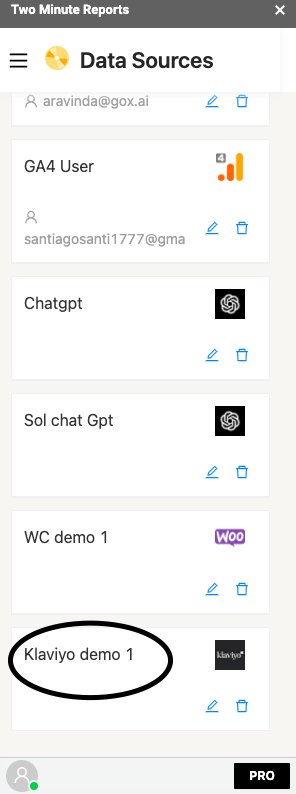
You will now be able to view the newly created Klaviyo Data Source in the Data Sources section
Step 4: Creating a Data Query in Two Minute Reports
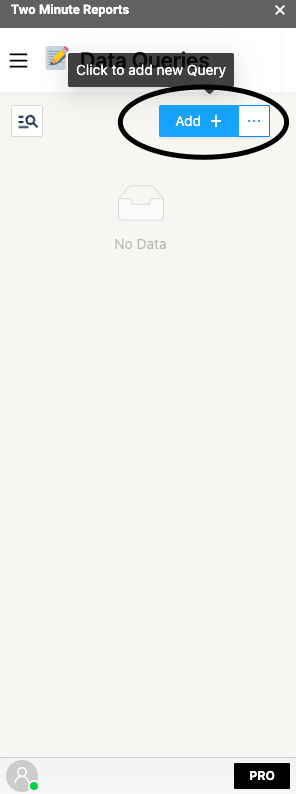
To create a new Data Query in Two Minute Reports, click on the menu icon located at the top left corner of the TMR sidebar. From there, select the “Data Queries” option, and then click on the “Add+” button to create a new Data Query.
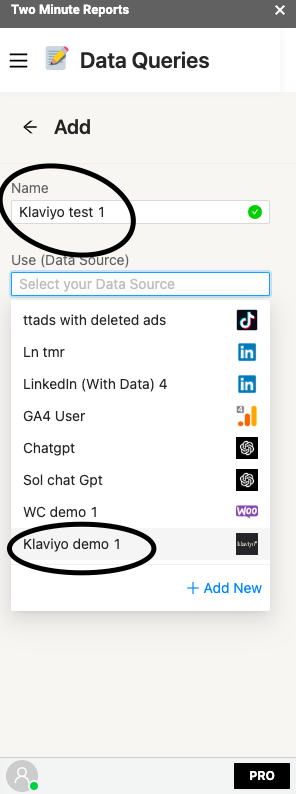
When creating a new Data Query, you will need to give it a name and select the appropriate Data Source. In this case, select the newly created Klaviyo Data Source for your Data Query.
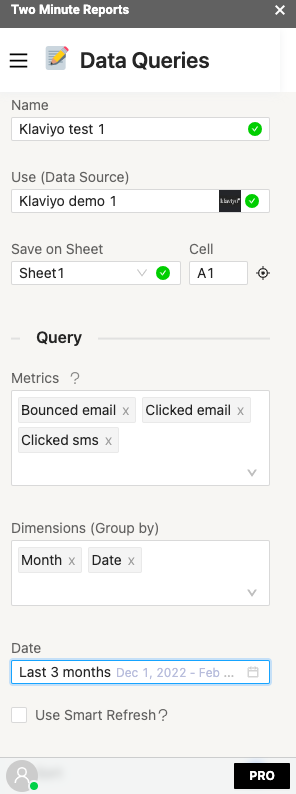
Next, you will need to specify where the data should be displayed in the sheet. Once you have done that, add the appropriate Metrics and Dimensions for your Data Query, and select a suitable date range according to your needs. Finally, click on the “Run query” button to retrieve the data and display it in the selected location on the sheet.
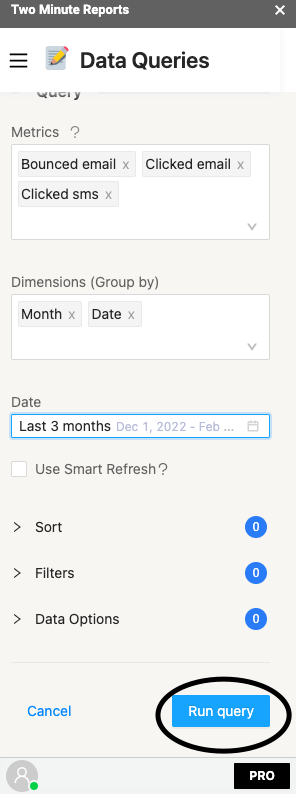
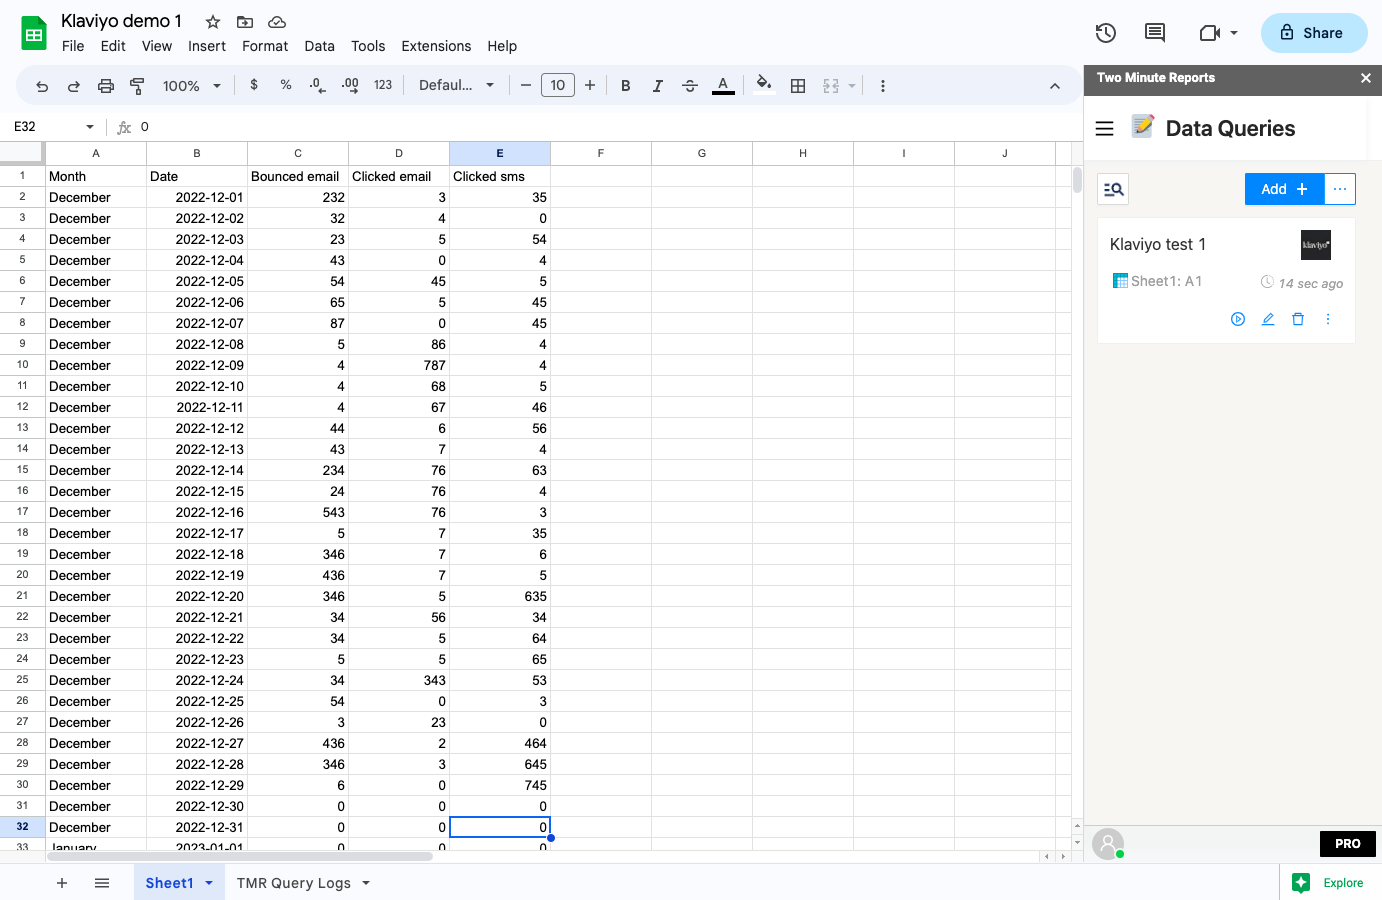
You would now be able to view your Klaviyo data in Google Sheets.
Step 5: (Optional) Schedule Automatic data Refresh and email
Once you have fetched data once, you might want to get new data from your database at periodic intervals. You can do this creating a new schedule under the “Schedule Reports” section. You can schedule updates hourly, daily, weekly or monthly based on your needs.
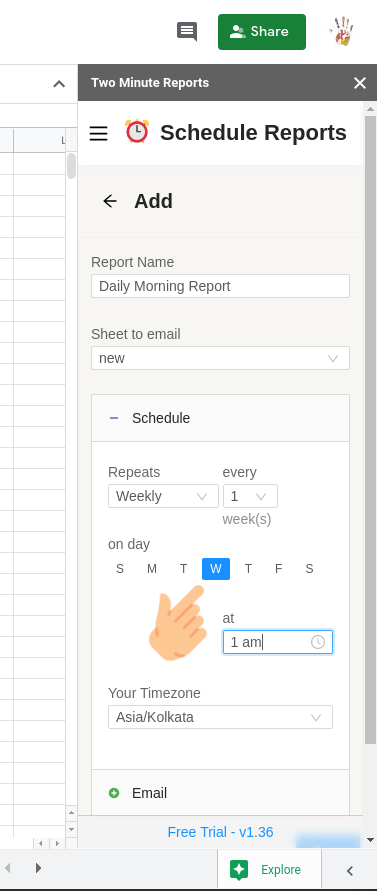
You could also create a report and ask Two Minute Reports to email that report with updated data automatically. Under the email section enter the email Id of the recipients and save your new schedule.
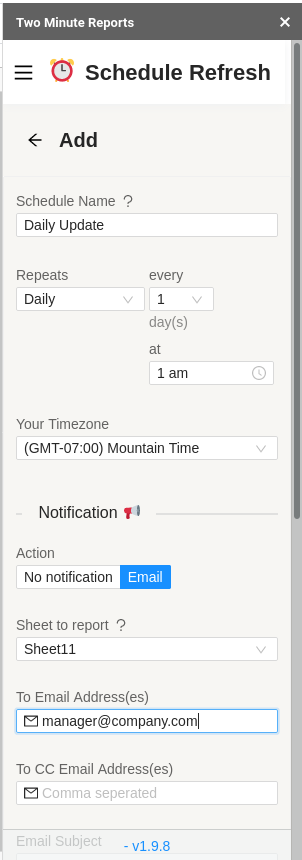
When the time comes, Two Minute Reports will automatically fetch new data from your queries, and email your report to the said recipients. You have freed a lot of your time from mundane reporting tasks.
There are other features with Two Minute Report’s schedule refresh or data refresh feature. You may read our guide How to Refresh Data Automatically in Google Sheets.
I hope this article helped you create a new Data source and a query for Klaviyo from Scratch.