As we know Snapchat is one of the leading Mobile messaging apps in the world. And this is one the right places to post your ad. By posting snapchat ads, like 10 second short video ads, Snap filters and AR Lenses, you tend to get a lot of incoming users to your business.
But you need to check the ad insights to know how your ad performs, like impressions of the video, Top Campaigns, Top ads, Swipes, CPM etc..To infer these data you need a Platform which is Google Sheets. Using Google Sheets you can easily get your ad insights as Raw data.
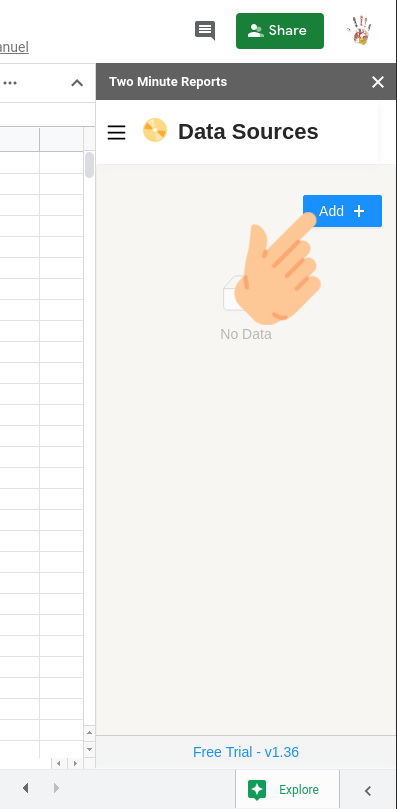
If you haven’t installed Two Minute Reports yet, click on the link to learn how to install. Using Two Minutes Report (TMR) you can get your ads insight immediately to google sheets.
You get to view all of these ad insights without a single piece of code and that’s the best and easy part of it. Just select your required Metrics data to be shown and Boom you get the Raw data in your sheet within a minute.
Step 1: Install and Launch Two Minute Reports
Install Two Minute Reports, if you have not done already.
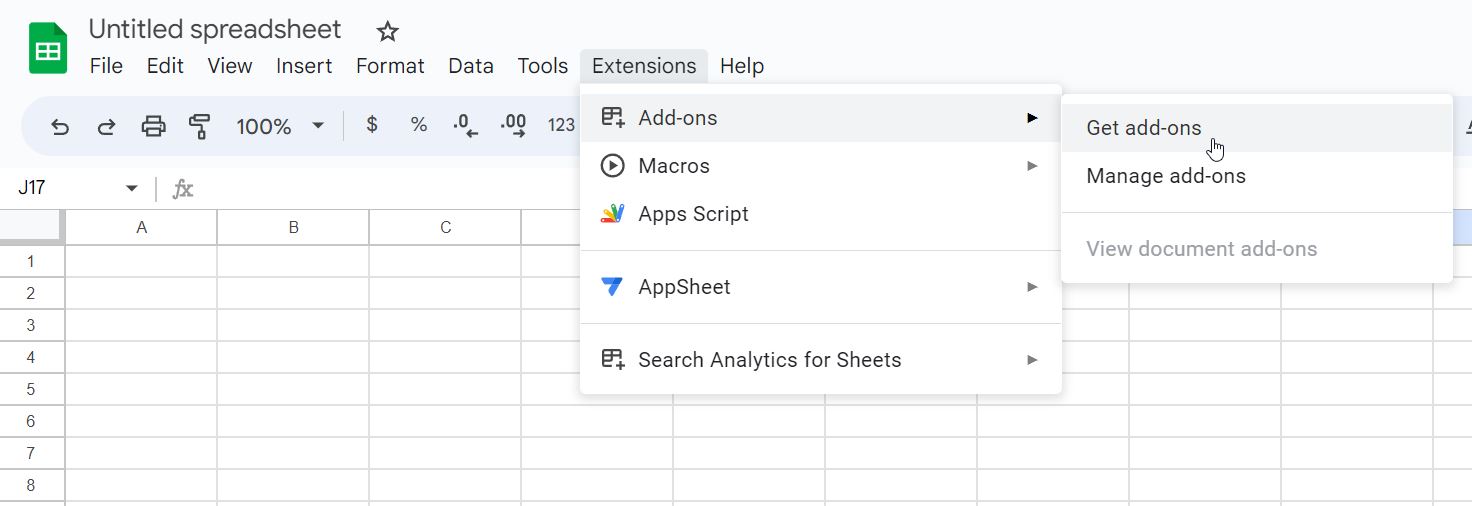
Sign in to any Google Sheet and go to Add-ons -> Get add-ons.
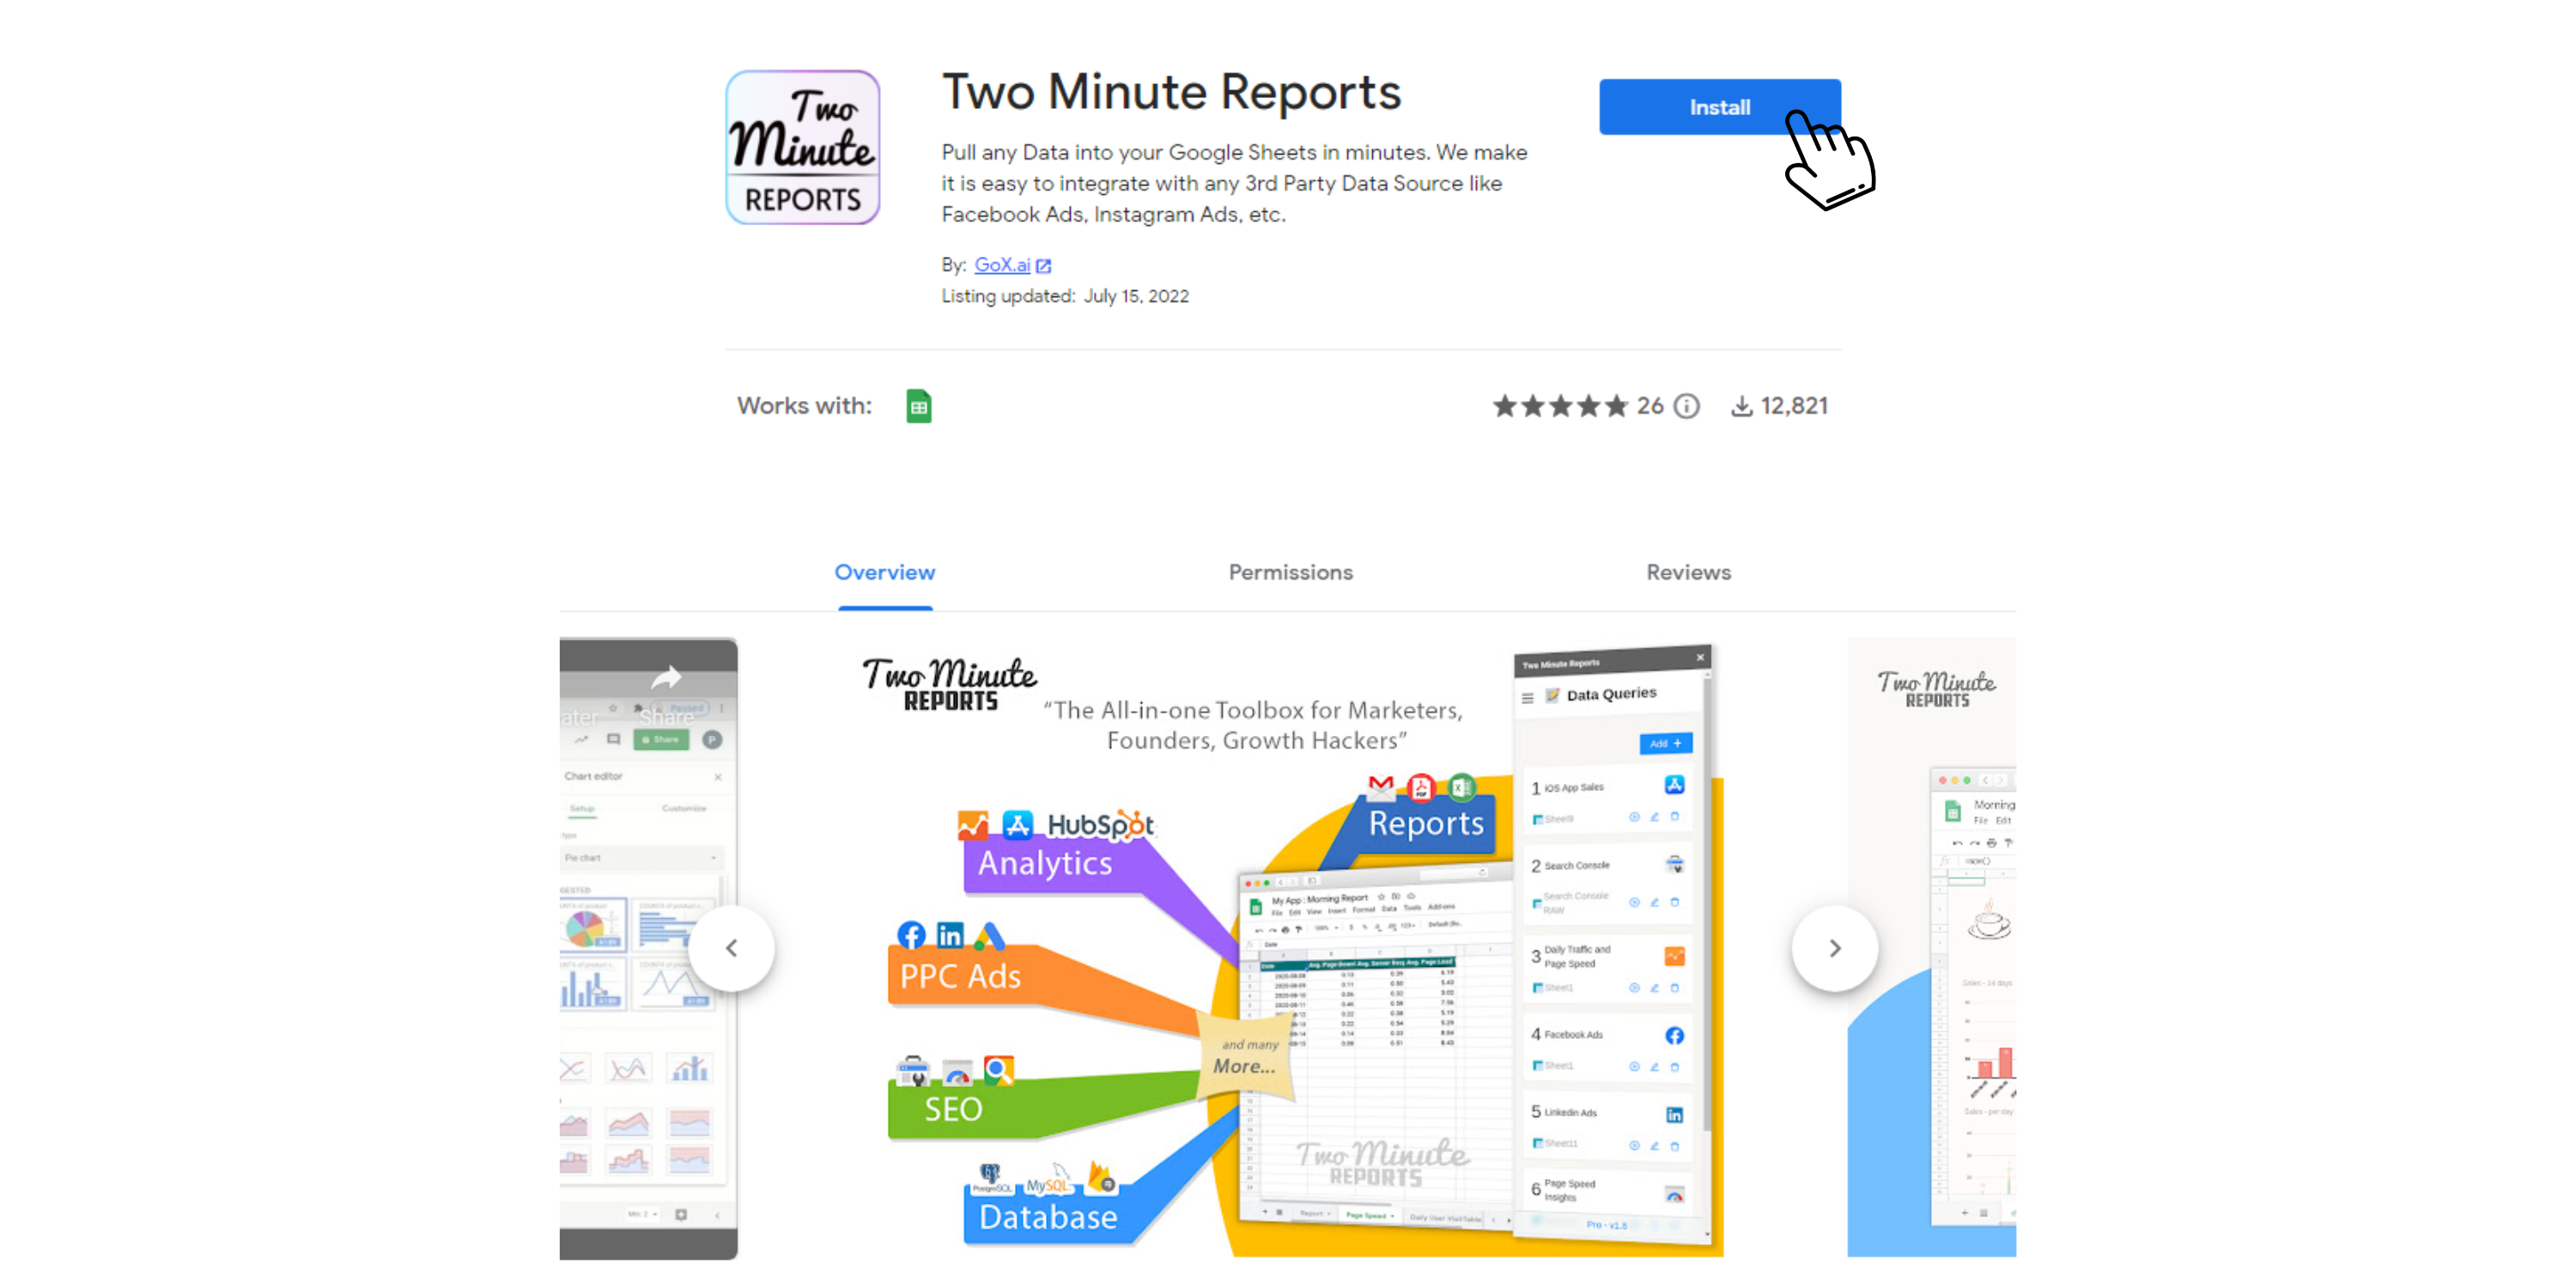
Search for Two Minute Reports and select Install.
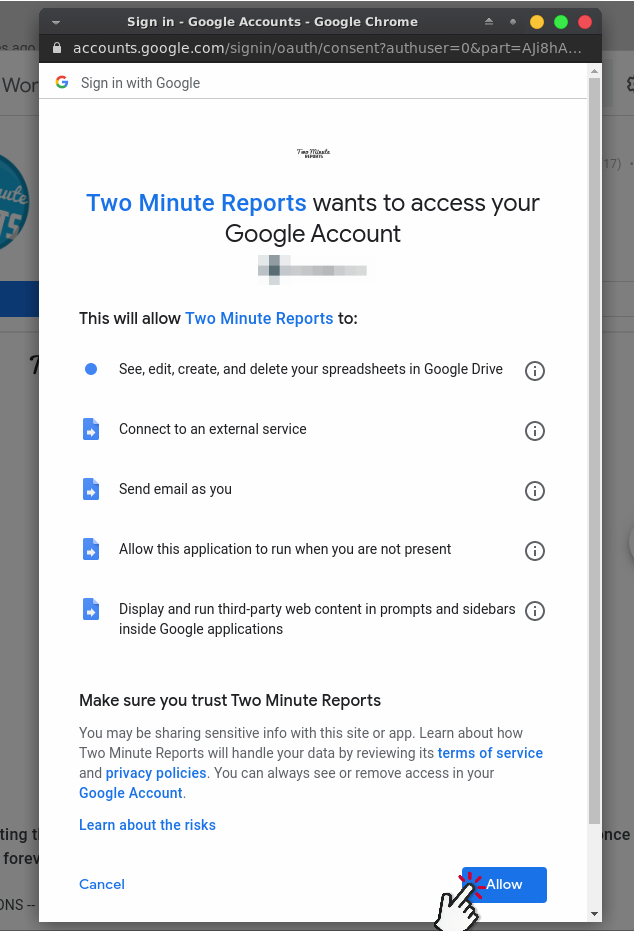
Review and accept the permissions necessary to run Two Minute Reports. Two Minute Reports will be installed for you with the e-mail you are sign in to Google Sheets.
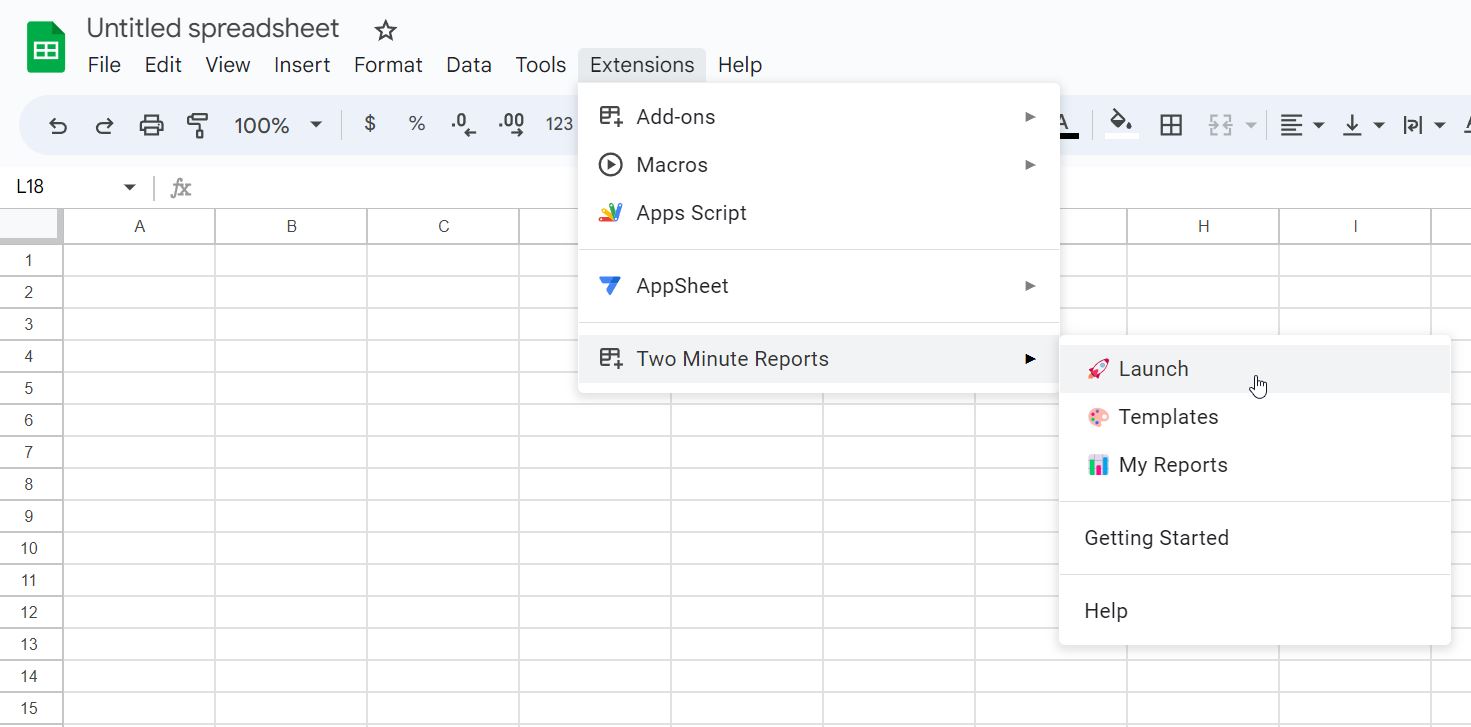
Open Google Sheets and go to Extensions -> Two Minute Reports -> Launch.
Step 2: Connect Your Snapchat Ads Account
- Go to the Data Source section.
- Select Snapchat ads from drop down under advertising or you may type it in the search bar.
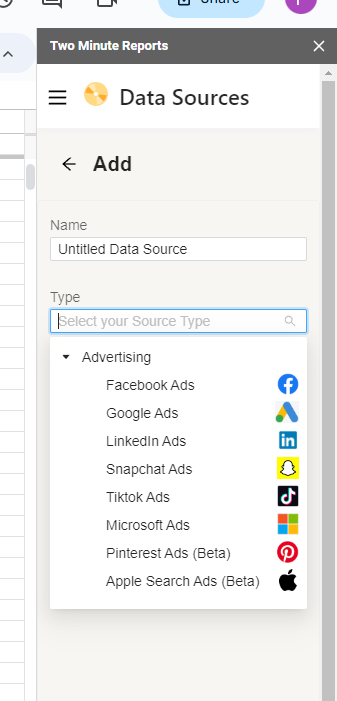
- Click login with Snapchat and add your Snapchat Ad account as Data Source
Step 3: Getting Snapchat Ads Performance Data in Google Sheets
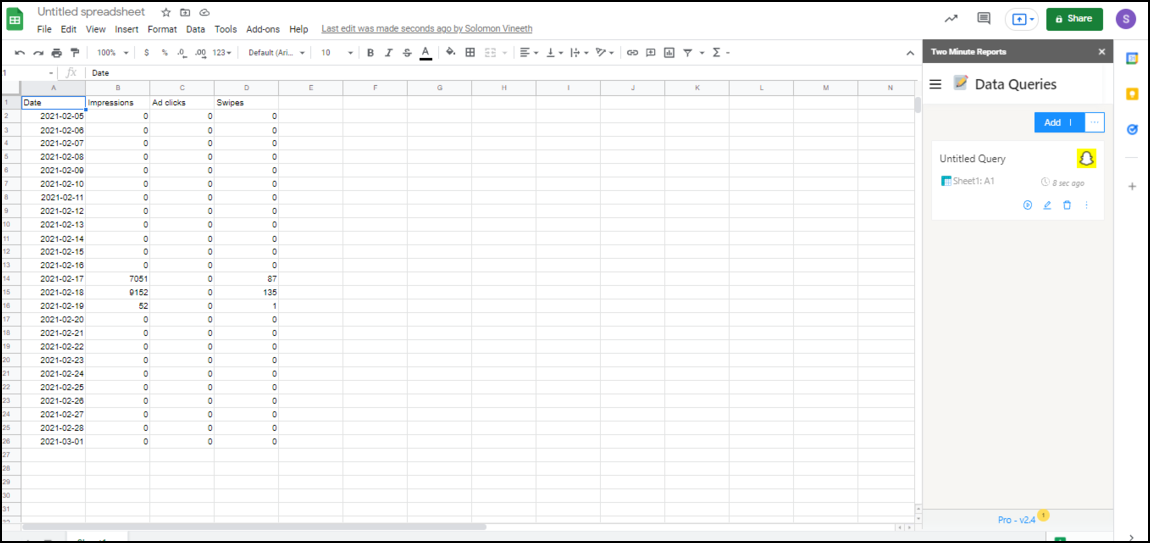
To start getting your ad relevant data into Google Sheets, you need to start creating queries. To add a new Data Query, click on Data Queries and click on Add new.
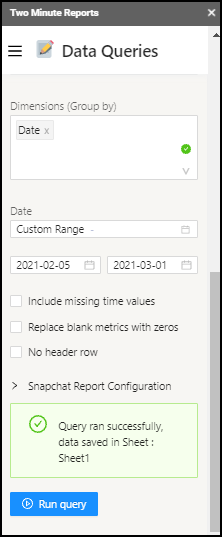
And now you can start creating your own Data Query using the drop downs below. Create a name for your Data Query, add a location to run the query. Select on Metrics which consists of the vital data of the data source like Impressions, Top ads, Swipes, Swipe Rate etc. Once you select your required Metrics go down to select dimensions according to your added Metrics.
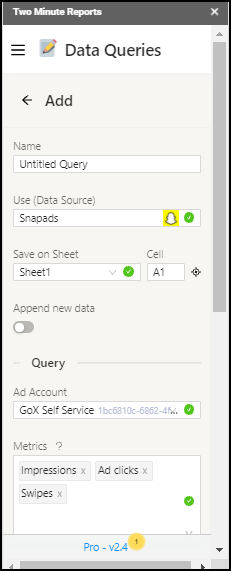
Dimensions are used to group your Metrics in a particular aspect like Account Name, Ad ID, Account Id etc. After selecting the dimension you need to select the date range for the data to be displayed. Once you select the date range, you can run the query and the query data would be displayed in the given location.
Once you get the data in your Google sheet, you can customize your data by adding Pivot table VLOOKUP(), Charts and Graphs. By adding these you can create your own personalized Dashboard.
Once your report is created you can create a Schedule in Google Sheets to automatically update your sheets and keep your data up-to-date. This feature is handy to send emails, or just refresh your spreadsheets with live data and use it as a Dashboard.
Step 4: (Optional) Schedule Automatic data Refresh and email
Once you have fetched data once, you might want to get new data from your database at periodic intervals. You can do this creating a new schedule under the “Schedule Reports” section. You can schedule updates hourly, daily, weekly or monthly based on your needs.
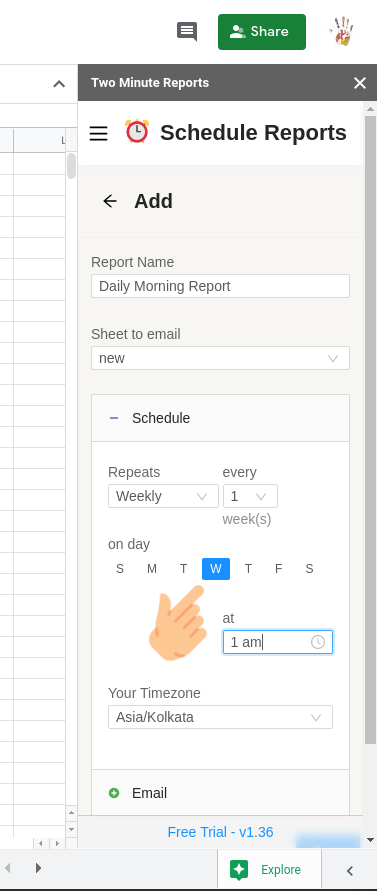
You could also create a report and ask Two Minute Reports to email that report with updated data automatically. Under the email section enter the email Id of the recipients and save your new schedule.
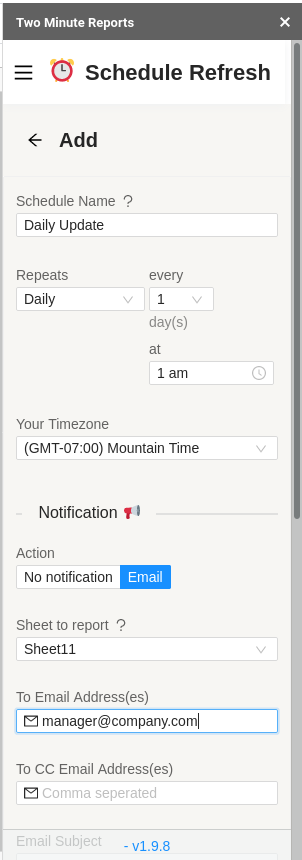
When the time comes, Two Minute Reports will automatically fetch new data from your queries, and email your report to the said recipients. You have freed a lot of your time from mundane reporting tasks.
There are other features with Two Minute Report’s schedule refresh or data refresh feature. You may read our guide How to Refresh Data Automatically in Google Sheets.
We hope you liked this Tutorial on how to get Snapchat ads in Google Sheets and use them using TMR. If you have any questions please feel free to comment below or contact our Support Team.